Menu Planning Pages

Hello, hello! I’ve been using a very similar method for my menu planning as the planner page I created, but inside my pantry door on a cute chalkboard I made. I made individual cards and put them in their little clip, which worked great when I was in the kitchen. BUT…not so great when I was at the store. I’ve been loving my HP and loving creating personalized pages that work for me, so making my meal planning page was a no brainer because the method I am using is working almost perfectly.

Now, there may be some menu planners and pages already out there, but I can’t rush off and buy something every time I think of a need. I can, however, take the time to make exactly what will work for me and print it out. Sometimes, I make things again later after trial and error and figure out what works. Hopefully, this works!

Here is my latest meal planning creation:

menu plan

Simple, efficient, and convenient! I can now take this in the store with me (even if my daughter is playing on my phone where my menu is kept, I can happily shop and not forget anything – that’s the plan, anyway).

There are 77 color coded menu cards! Yes, color coded because that’s how I roll, lol.

There is a key to remind you what the color is for. I like that because I can keep my chicken nights from piling up, rofl. My husband is not a big chicken fan. You’ll see I have quite a few recipes for chicken. Aaaand now you know why he’s not a big chicken fan, teeheehee. Another thing having the color coded does for me is that if I do want a main dish back to back (for those nights you cook in bulk or have  leftovers), you can plan that in on purpose, too.

Red – Beef      Blue – Fish     Green – Chicken     Purple – Pork    Orange – Turkey

Black – “other ”    Teal – Soup

I thought about adding an asterisk in the corner for “easy” meals, and an “s” in another corner for sandwiches, but I know my meals, so…I stopped. 😀 Maybe I’ll add it in later.

After I printed the cards, I printed the planner page and laminated it. I used the labels I bought at Dollar Tree. I had to cut them not quite in half (so I could pull the cards in and out) and stick them on the page. I added a sticker on the bottom after laminating so I can change out the sticker (I would like to put fall ones on it next month) and voila!

You can use a WET erase marker to write out your grocery list. It won’t smudge or rub off onto the other papers in the short time it’ll be on your page.

As a bonus, I made my children’s breakfast and lunch pages because I had those inside their designated kitchen cabinet, but another child ripped it, so I decided now was the time to do it all at once. Obviously we aren’t crunchy. #sorrynotsorry #lifeistooshortanyway


Just an fyi, I noticed and fixed the grammatical error on the lunch menu. 🙂 You can print away!

Another option that I have done (before creating the cards) is just to laminate my page (you can still print the planner page) and just use the wet erase to write in my meals. That’s back to writing it in every day/week, so I really like this better. I don’t have to think, I just choose a variety of the colors for the week and add them in based on what we’re doing.

I hope this works as well for you as it does for me or at least gives you an idea of what to try!

cards

You can use the wet erase marker to write in your dates…

cards 1

Here is about the length I cut my labels down to…

cards 3

Here are the labels…for just $1!!

labels

I don’t know how everyone makes their planner pages, but I’ve been printing mine on shipping labels, sticking it to a grid HP classic planner page, trimming, and punching. 🙂

Here are the links for printing – enjoy and have a blessed day!

Weekly Meal Plan Page

Dinner Strips

Kid Menu


“Cleaning” Planner Pages

Hello, all! I have been MIA for a while with so many changes going on in my home life. More will be coming up, but in the meantime, I am going to try posting my recent hobby: planners and all things related. 😀

I’m going to start with where I started on my printables…my cleaning log!

I hope you like cleaning because that’s the first printable for a planner that I’m sharing, lol. If you don’t, hopefully having an organized plan for it will help make it more bearable. Personally, I love cleaning, most of the time. I’m weird like that. 🙂 Here is what you’ll be getting:

Cleaning Log

cleaning 2


Sorry that they are blurry! I took the pic before even printing. 🙂 Here’s the link if you’d like that one   Cleaning Log

Here is a second one I made. I laminated it and use a WET ERASE marker (because it won’t smudge) to check them off as I go to know what’s been done.

cleaning 3

Here is the link for the blue plank cleaning list:

Cleaning Log 2

Feel free to print and use either one! I get my images from Google, as mentioned in previous posts. These are not my original images, but I created the document and share it freely for all to enjoy.

I will be posting more planner pages soon! Thanks for visiting!


Dining Table Makeover DIY

I am so excited to be done with this table! And I love it! I wasn’t so sure how it would turn out when I started this project. I haven’t taken on a furniture makeover this “big” before. Quite a vital, expensive kind of thing to redo, but it really wasn’t my style when it was given to us. When I got the green light for keeping it and doing what I wanted to it, I decided to go with a white base and chairs with a deeper wood top. And I wanted to see reflections in it! 😀

table2

table1

I primed it first and put on a couple of coats of white paint. Then I stained the top portion with a gel stain. Let me tell you the biggest tip I learned from this furniture venture: let each coat dry completely. And by completely, I mean about 24 hours. Especially once you move on to the sealing.

table4

table3


After I painted the white, I sealed it with polycrylic. I decided to make the top really thick and reflective, so I used epoxy. Boy, do I have the story about that! Hah. Make sure to cover every crack if you have a table with a leaf. Do not let epoxy settle into the sliding wood. I put 2 coats of epoxy on it and let it harden for 2 weeks before using it or putting anything on it. It takes that long to cure so you won’t see the fingerprints or get dents.

table finished

Voila! All done. 🙂 Hoping after the work I put into it, that it will last for many more years.


Dining Room Table Makeover DIY

Do you have a table you think is in desperate need of a makeover? I did! I didn’t like much about this table, but I was (am) thankful to have been blessed with one because we had nothing else. And something is better than nothing. I dreamt of the day when I could paint it and make it my own. Eventually, it was ours to keep instead of being borrowed…and I had the green light to do whatever my heart desired to do with it. ❤ Hello, Pinterest ideas!

I found the tables I was most drawn to were the white bases and chairs with a darker stained top. Well, get your elbow grease ready!

You’ll need to sand the table and chairs. Wipe them clean. Remove the stain on the top of the table that the sanding left behind. Prime the entire set! Let completely dry….add 3 coats, at least of paint. I did 3 coats with a paint brush and then discovered the amazing joys of a paint sprayer! *singing birds* I did one last coat with the sprayer and then you can finished it off with polycrylic (3 coats with 24 hours drying time in between). I am choosing to finish mine off with epoxy after our next move. It will need 2 weeks to cure and I don’t want to mess up the finish.

table1

table2

❤ ❤ ❤

table3

I like it soooo much better now. Dare I say I even love it?! I think so. 🙂 It’s definitely growing on me and the final decision will be made after the move, epoxy, and some decorations.

All in all, this was a very easy project that was well worth the wait and work.

table4

It’s SUMMER!!!

Can you tell I am excited? It is my favorite season. Flip flops (ok, so around here those are a staple year round), the beach, the pool, no getting up early for community day (I still love you, CC), watermelon, cook-outs, and vacations! Of course, you have mosquitos and you have to start shaving your legs, ROFL, but other than that…best season of all!

We kick it off every year with new summer toys for…well, pretty much the above list. 🙂

13092150_10157434921950131_7014242534717433641_n

I get to push our school bookcase into the corner and bring out the summer supplies! Usually I inflate most of the pool floaties, but we weren’t sure if we were moving the following week and I certainly didn’t want to deflate them all the week later. Seriously, there are about 10…and they’re pretty huge. I believe I posted my tip on inflating them in just a couple of minutes (each) on a previous post from the beginning of my blogging days.

You might be wondering about all these new things for summer. First, I think they are pretty much a necessity for my sanity during the couple of weeks here and there that we take breaks from homeschooling during the summer…so well worth spending to get. Second, and just as importantly, I get the majority the year before on clearance at the end of summer and save them in a tote in the attic or garage. 🙂

13221443_10157434921775131_546028316748627558_n

Most of these things are what everyone usually gets for regular summer days at the pool, beach, and backyard: the inflatable pool that my hubby says is a waste and I say it’s the last one, every year. Really, it is. I can do it! The sidewalk chalk, bubbles, play dough, and kinetic sand: all favorites around here for (mostly) quiet, no-help-from-Mommy-play. Although, side note: these do require clean up once I know my little ones are done playing with it. Some water balloons  – I highly recommend the ones that fill up and tie. You pretty much have to use them right away because they slowly leak, but they fill up so fast, using them asap doesn’t seem to be an issue. 😀 New goggles, like every year…they seem to outgrow them faster than shoes. That may be because they only wear flip flops, but whatever. Lol. Dive toys and the new water bounce ball my son wanted to badly last year. There were tons of them clearanced. New flippers that my daughter begged for but doesn’t like because they are hard on her feet. O.o Gotta love SPD. Water guns, beach towels, and water bottles are pretty vital. We go through the towels like crazy and last years’ water guns were wore out, so I knew they were worth getting.

13164185_10157434922425131_913128430073188532_n

The other side has some silly string, some science stuff, pool noodles, and the bubble station container. I got a mini container from Dollar Tree and just put a chalkboard label on it. Cute and easy. I will have to “tie” it down with small bungee cord so little ones don’t knock it over.

13227011_10157434922460131_342045095516545392_n

13239391_10157434922930131_2942254470949779270_n

One other thing that I got, that was a splurge for ME…to save my back from lugging all this cool new stuff at the pool and beach:

13139032_10157389641825131_8351443168391205459_n

Yes, the Rio beach cart. I am SO excited (like the night before the first day of back to school) for this new thing. I have used it since getting it and LOVE it. It goes through the sand when it’s all weighed down with so much more than I could carry…just turn it around backward and pull it (don’t push) and it works like a charm. Bonus numero uno? It also worked my legs, lol. But NOT my back, thank goodness. No more huge bag on each shoulder and arms full of other stuff!! Oh yeah, and where the seats can hang on…when you take them off at the beach, hang the kids’ towels and they don’t get sand in your bags anymore while reaching for their towels. And “park” it slightly away from where you will lay and they won’t kick sand up all over you while going for their towel, either. Lol.

13083192_10157389641965131_1053882567376857945_n

Bonus numero dos? See that grey pattern bag in above picture? 😀 That is my bag for CC community days. Yes..I plan on using the Rio beach cart to put all of our things in so I *hopefully* make one (unpainful) trip in and out with our supplies for the day. All my tutoring supplies are in my bag and I will just put it on the bottom platform and all the children’s things in the mesh bag. Yay! I get so excited over “my school supplies.”

One reason why I splurged on the cart was because I thought I would give it a shot for CC. The bag on top near the handle…it’s removable! 🙂 This beach cart is totally worth it. I didn’t get it from Amazon, either. I got it from Walmart, online. Had it delivered to my store so I didn’t pay for shipping. I feel like this is going to be utilized well in our household. 😀 I feel like I’ve graduated from strollers to more fun stuff! haha.

13092065_10157389641880131_106010744938506047_n

And just in case you like the bag for my CC stuff, that is also from Walmart, from the sewing section. It’s for a sewing machine, but those long pockets are MADE FOR our tin whistles, lol…I’m certain of it. It was calling my name. All the organization loveliness of it! ❤

13151730_10157389869330131_2545998283514844627_n

DIY Responsibility Chart

I don’t know about you, but I’ve been trying multiple things to get my children to learn the concept of self-motivation and doing their work before play. One thing works for my daughter, but not my son. She loves sticker charts. She is only 6, though. And she likes filling it up and getting something when it’s all full. I got one of those reward pads from Dollar Tree and we just use cheap stickers, too. Works like a charm for her. Not the case for my son. He knows they are just stickers and isn’t motivated at all to fill up a chart, lol.

So, I saw something my sister had saved on her phone. It was so simple to make and it WORKED! I was thinking, if it works for us, maybe it could help someone else. He gets up every.single.morning and goes straight to the chart on the fridge to start his responsibilities before he does anything else now. I love it! It’s such a simple concept, too, but I think he likes it because it’s visual and because it’s an immediate gratification…which he is all about. I still let him have 1 sticker for having ALL of his responsibility flaps closed. Without further ado, here is what we’re using for our ADHD boy that needs to see something finished:

13254462_10157466509735131_2827174617937999177_n

Simple enough, right? My daughter’s flaps are almost always left open. This doesn’t work for her at all. Good enough…I have one thing that works for her and one for him and that makes me one happy Momma!

What you’ll need:

  1. a manilla folder
  2. glue gun
  3. printed pictures of responsibilities or draw them
  4. velcro
  5. black marker or pen
  6. magnets (optional)

13230126_10157466509505131_8845893077195627900_n

I got this velcro from Dollar Tree. I tell ya, after Walmart, that place has been a life-saver for my budget.

Cut all your pictures and place them on the inside of the folder along the bottom fold. I used a glue stick to adhere them to the folder.

13254148_10157466509225131_6773991933861903168_n

13254378_10157466509400131_2143805016730559879_n

Cut the folder to be about an inch above the pictures and then cut the top flap where each picture meets (to make the individual flaps).

Now, using the glue gun, I attached the velcro (which I cut to size) above the pictures.

13244756_10157466509595131_3742707212885272784_n

Close the flaps over the pictures and write “Done” on each flap.

13267859_10157466509680131_6828911266354575775_n

I hot glued magnets on the back to put them on our fridge. I open the flaps each night and my son goes right on in to start on his responsibilities all on his own…even changing his clothes, which used to be a struggle every day. He loves to do dishes, so that’s his responsibility and his sister plays with TONS of toys and makes messes with them in every room, so that’s her responsibility. Change it up for what works for you. I will share the link to the ones I printed out if you want to start with those. 🙂

Responsibility Flip Chart


DIY: Begin Bullet Journaling in Your Planner

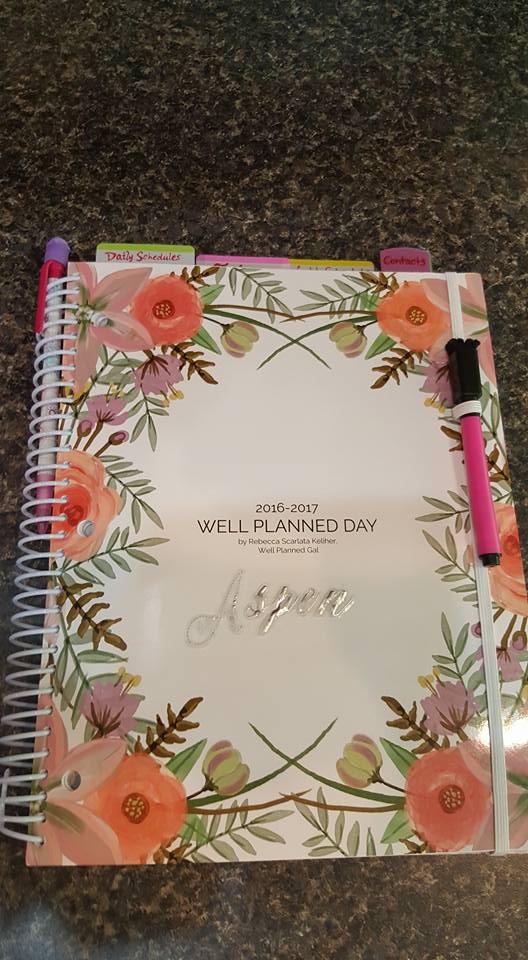
Today I want to share with you all my planner! I really love it. I also recently learned of bullet journals…and love them. See, when you’re a list person with a Type A personality, you just can’t get enough organization and planning, lol. I really would like “simple,” but I don’t think that’s me. I like the idea of bullet journaling and it may even be what works for me…next year. I already purchased the Well Planned Day after looking through numerous planners. And I can’t let it go to waste. 🙂 So, what do I do?! I begin incorporating bullet journal aspects into my planner. So far, so good. It will also give me a year to keep learning about bullet journaling and decide whether that’s the way I want to go. I have to tell you, though, I do like that half the work is already done for me because I started with a planner. Here is my planner:

37

Of course, it didn’t start out this way. So let me walk you through how I snazzed it up to make it work for me. First, I grabbed some scrapbooking paper and my trusty glue gun (what in the world would we do without these?).

1

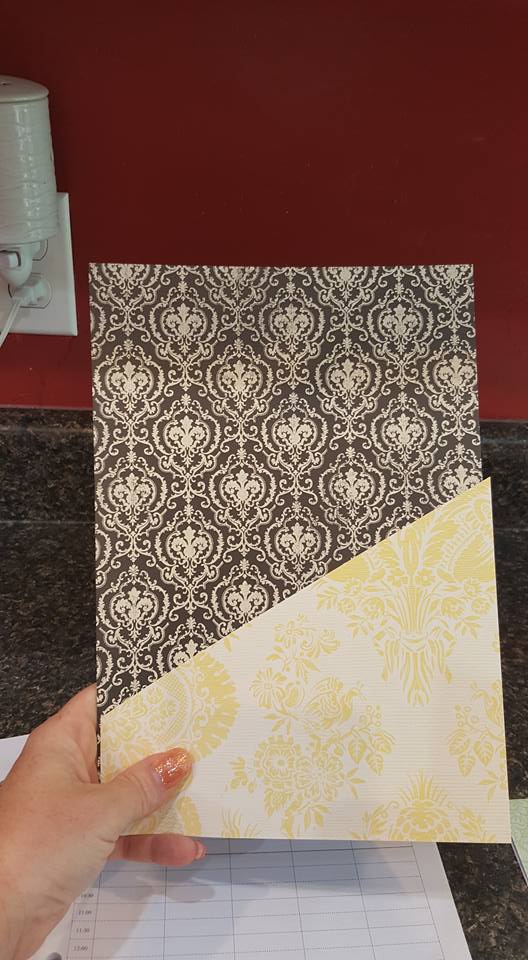
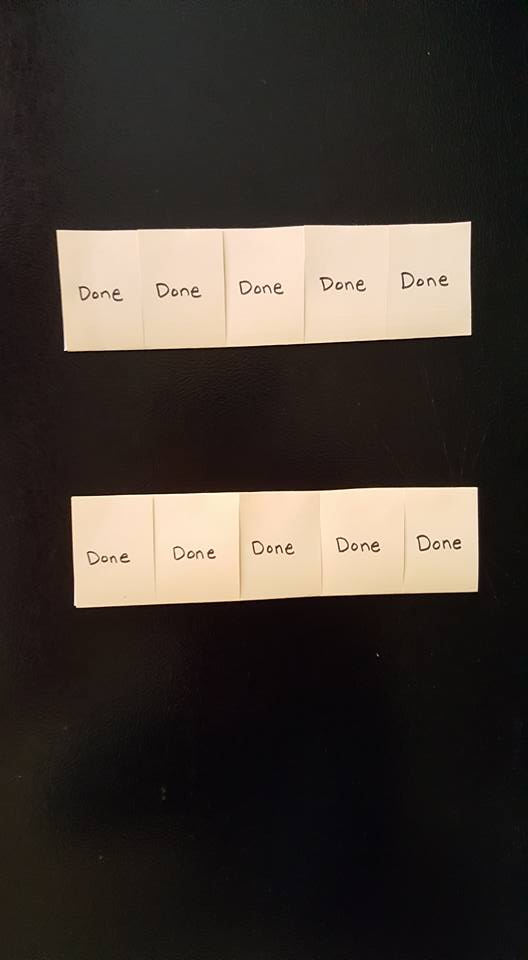
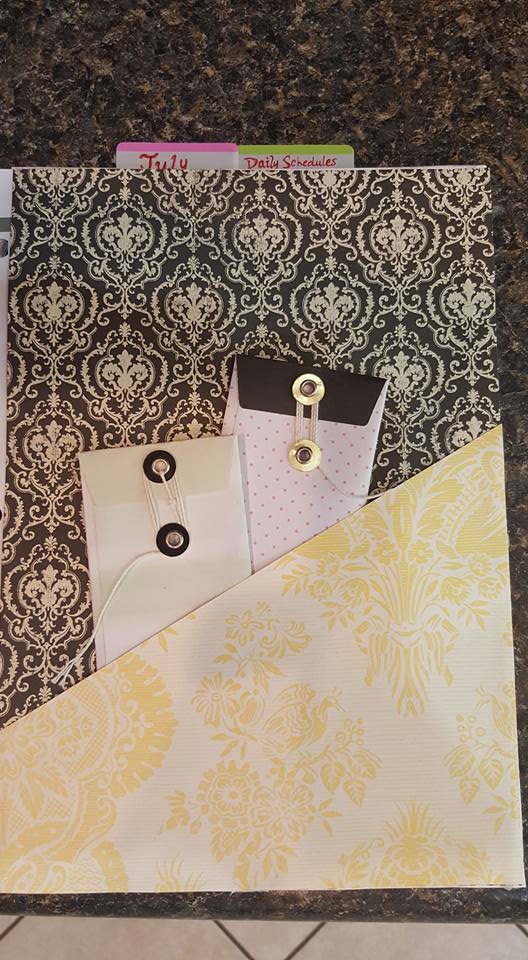
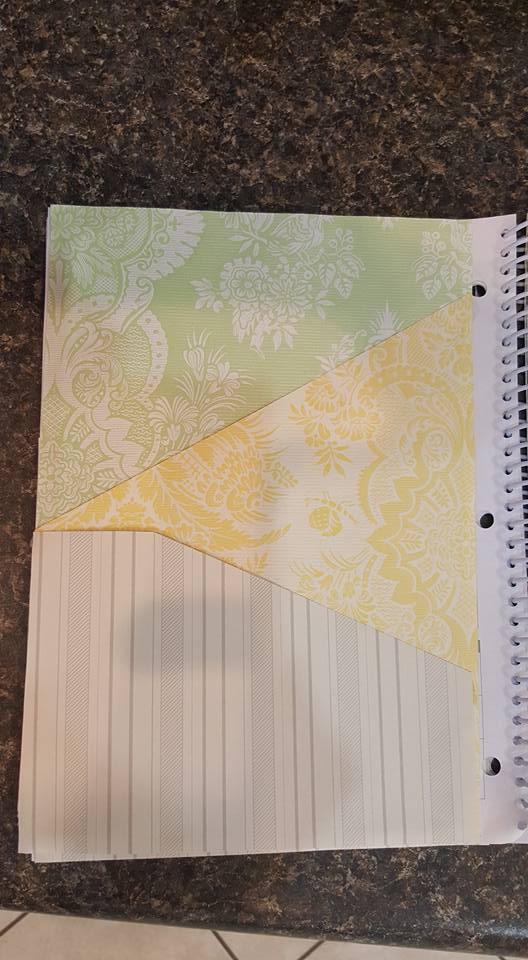
Cut down the paper to fit on one page of your journal that you won’t use (in this particular journal there are a couple of pages up front that are like an index, how-to-use, example pages, etc). I cut one paper at an angle…this makes a “folder.”

2

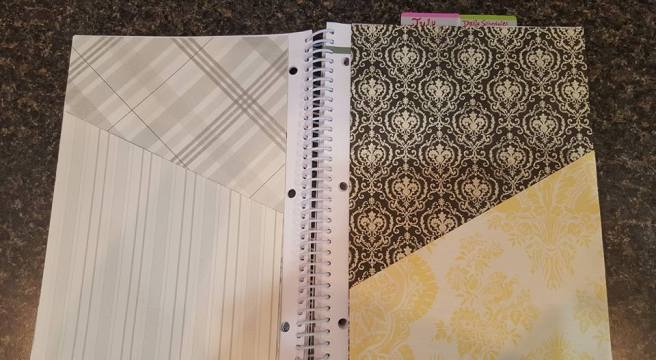
Do as many as or as little as you want. I also like that they reinforce the pages. 🙂

5

74

Now that those are done, I took apart last years’ planner to use in this one. I printed and laminated some charts that would help me. So, look on Google images to find what you might like…possibilities are endless and it sure it easier because then you aren’t writing them out all by hand like in bullet journaling.

6

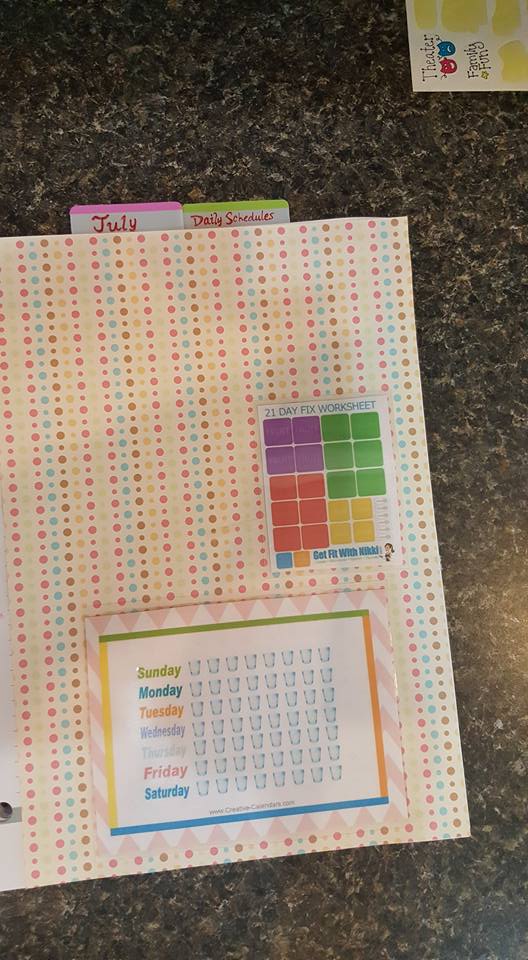
I want to keep track of water I drink and days I do 21 Day Fix, so those are what I printed. I cut and laminated them and glued them with the hot glue onto the scrapbook page. I use a dry erase marker to keep track and then I can start over the next day on the food chart and the next week on the water. I made a strap on the front of my planner to hold my dry erase marker. Love it! Since this is laminated, it was easy to pull out of my last planner, peel the glue off, and put it in this one. Additionally, I added a top sleeve just using some tape to lay over top of the charts so the marker won’t rub off on the next page from use.

Next, I thought about what kind of legend (or key) I would use mostly. These are what I do often enough to put on mine. I like using a box for tasks so I can check them off when they are done. I looked on pinterest for legends and there are a lot of ideas, so do what works for you.

12

17

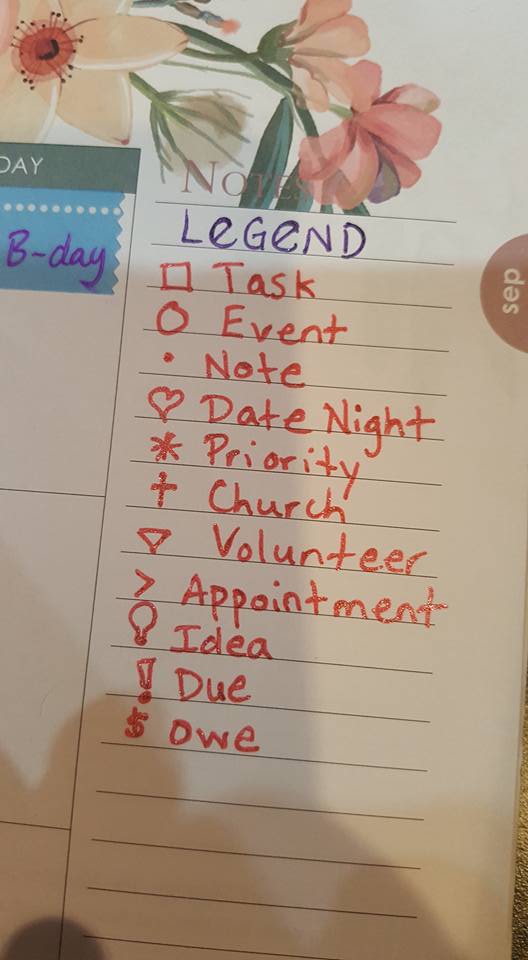
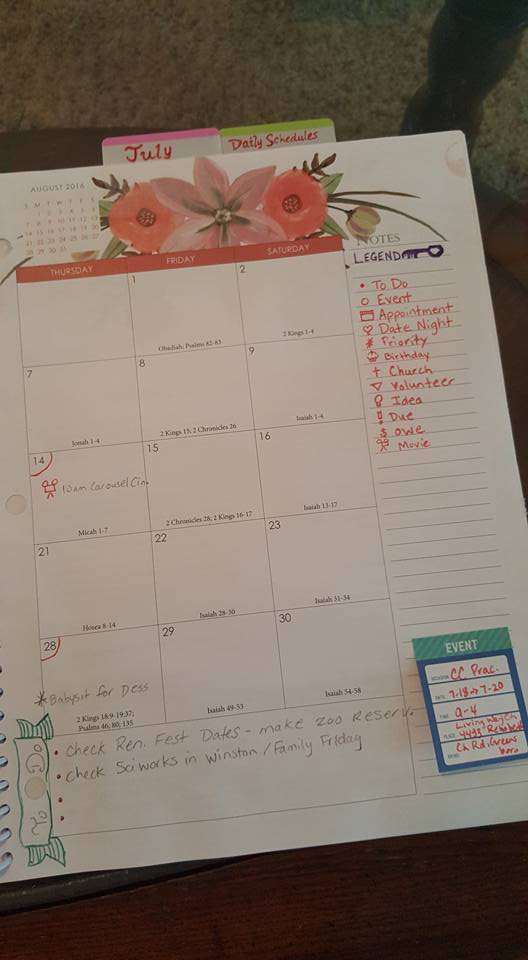
I added a To-Do list at the bottom because there was space. 🙂 Worked perfect for me. One thing I love about this planner is that it already lists daily reading plans to work your way through the bible. 🙂 I don’t have to make an additional list for it and I can continue to do my scripture notes/reading in the separate journal I already have for that. And since this is in my planner, if I am on the go and have some time, I can easily look up the daily reading here and read it from my phone.

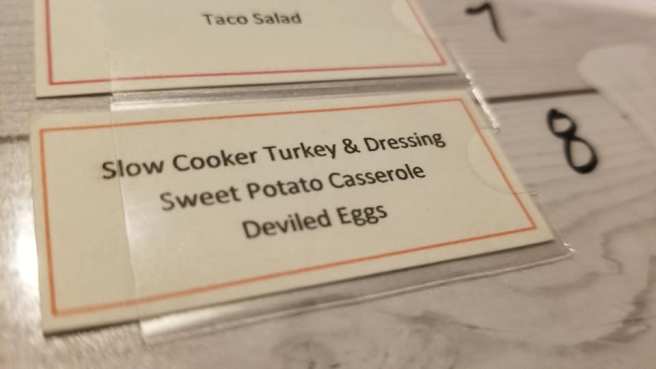
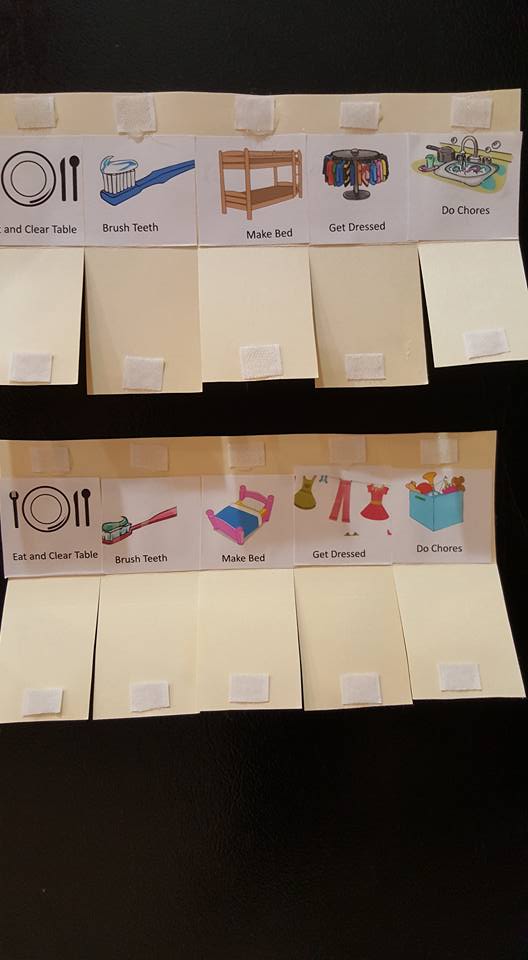
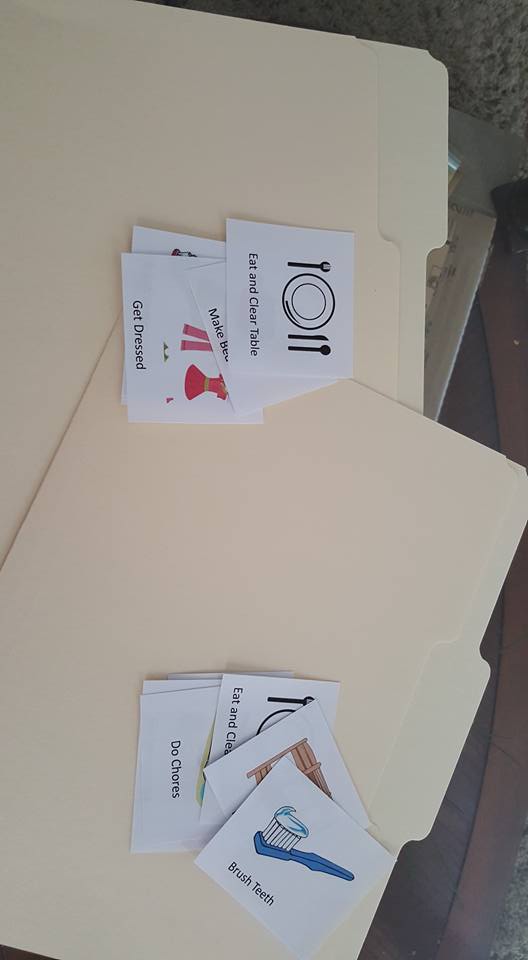
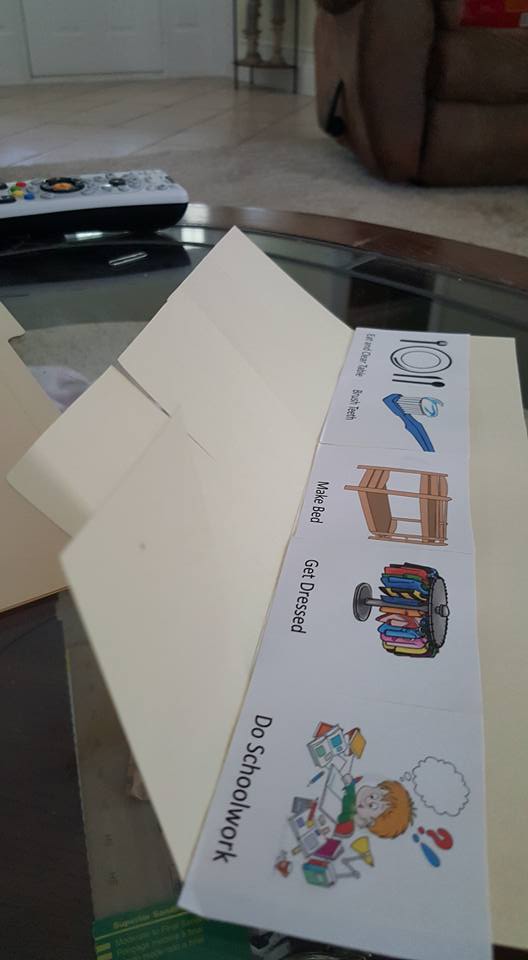
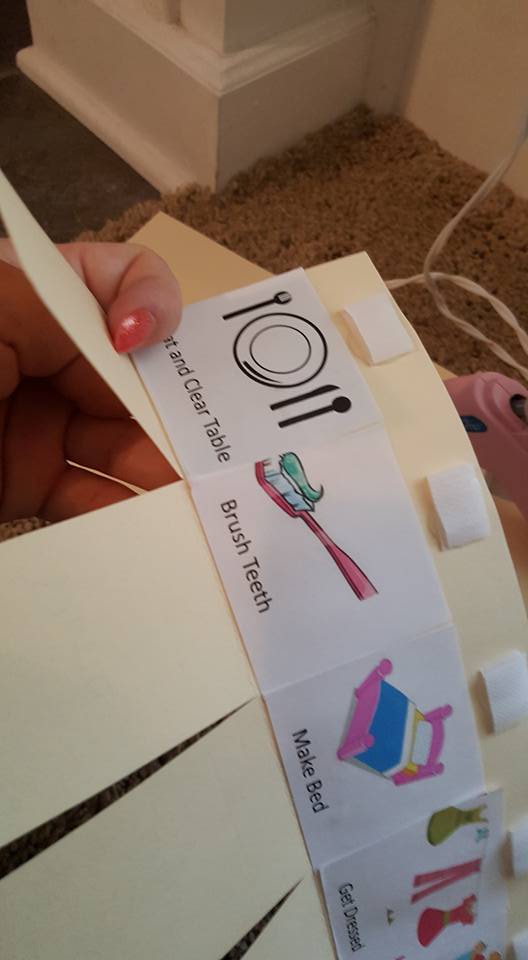
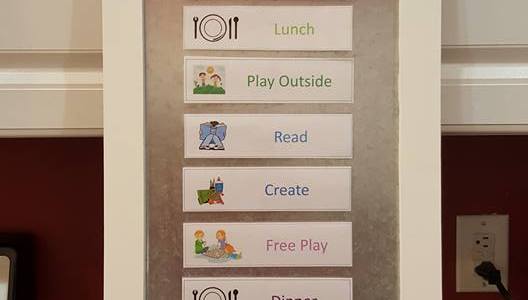
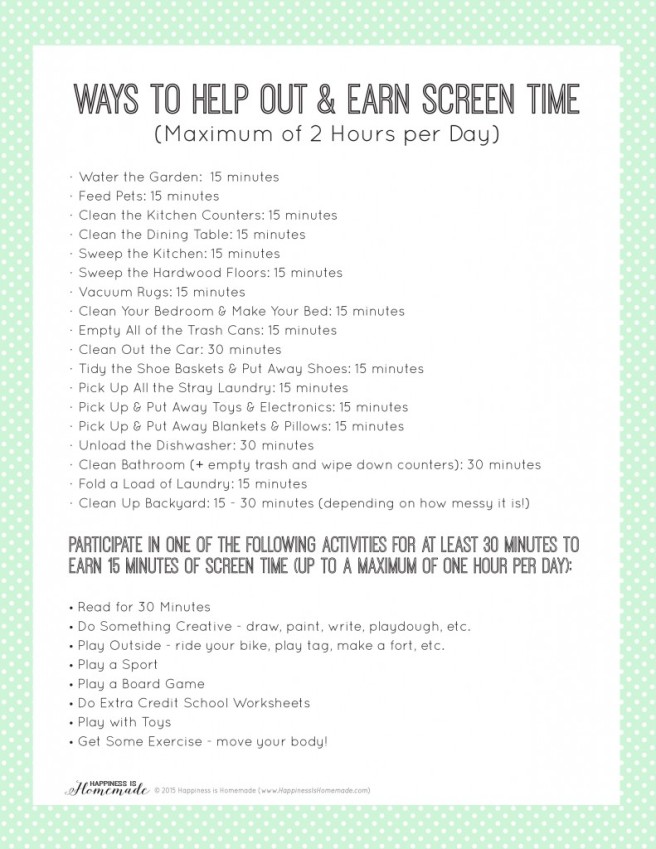
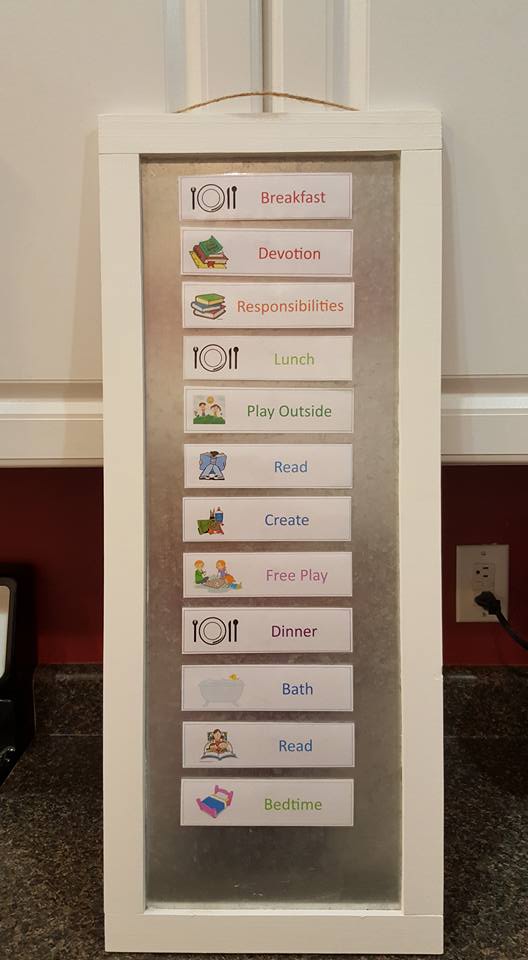
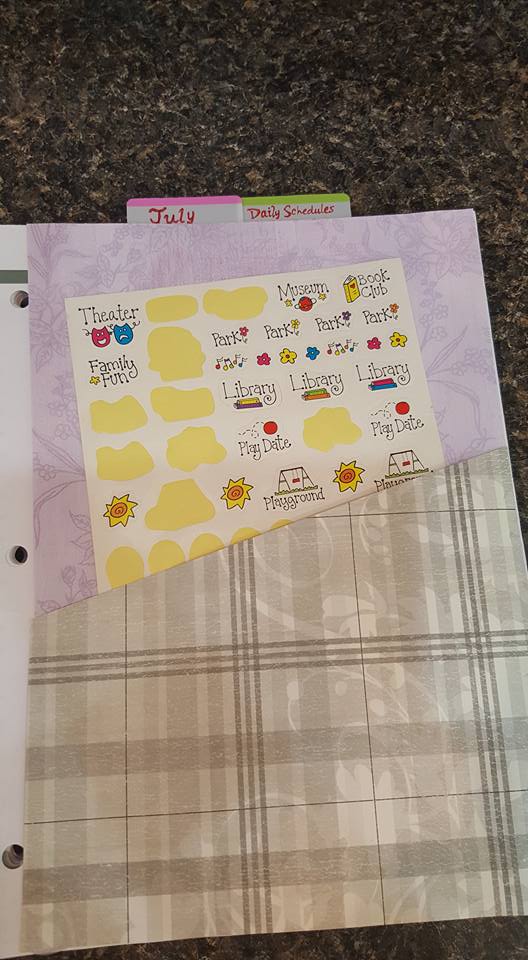
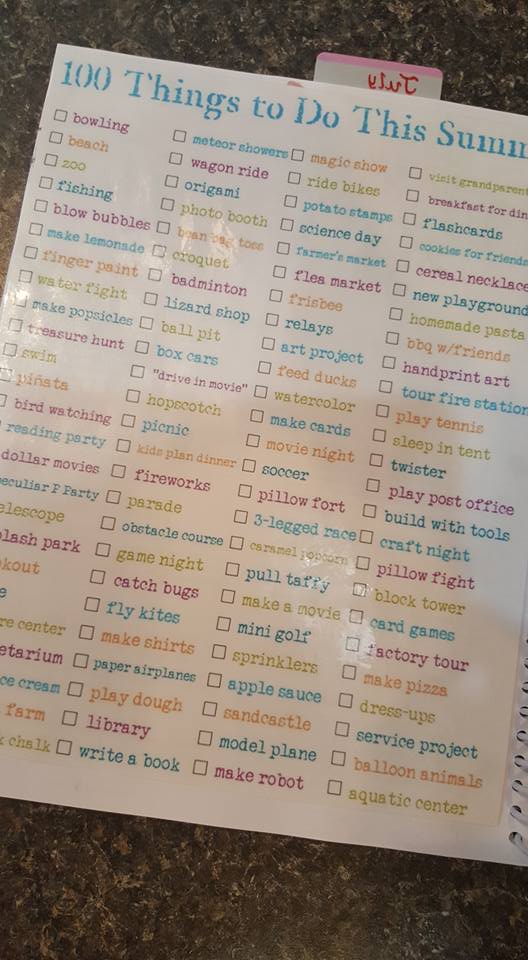
The next part is obviously not necessary, but I love doing things with my children and like most, they can get tired of the same ‘ol stuff. I usually have this in a frame to use a dry erase marker to check it off, but this year I decided to laminate it and put it in my planner, which I am loving. Again, it’s with us when we go somewhere and I can pick something to do while we’re out or at home and mark it off. I believe I got this particular list from my Pinterest board. I will later replace it with the seasons as they change. 🙂

13

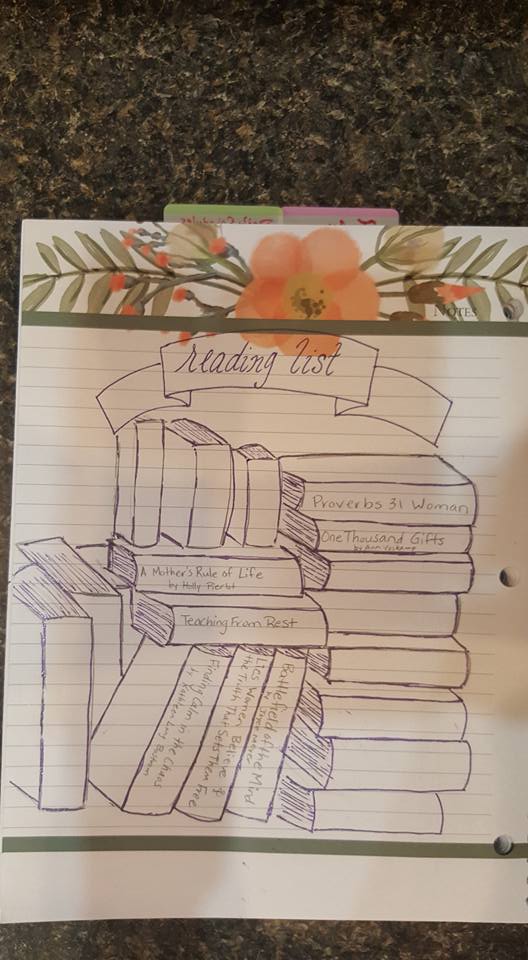
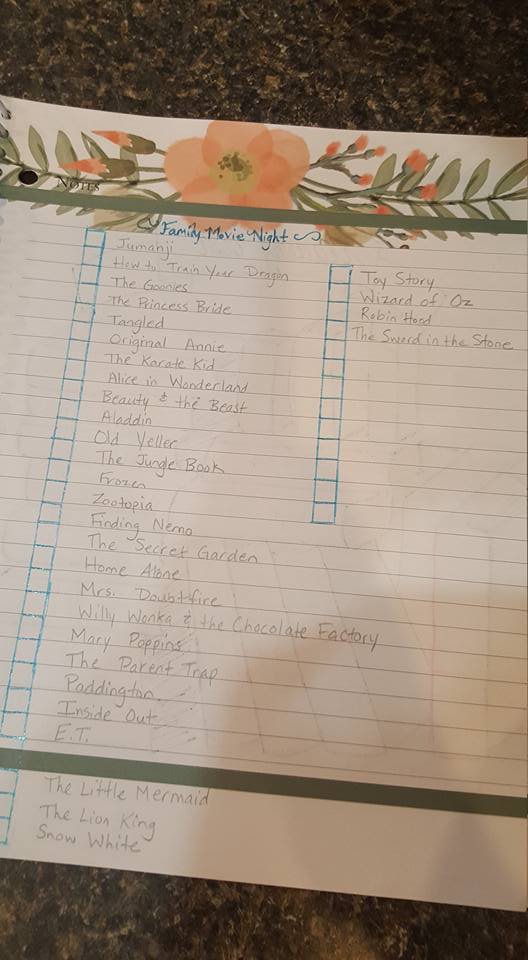
I like the look of the books for keeping track of my books I want to read. The idea behind this is that you color in the “book”  after you have read it to keep track. 🙂 I found it on Pinterest, of course, and just drew it in on one of the back pages in my planner. On the following page, I added a movie one.

8

9

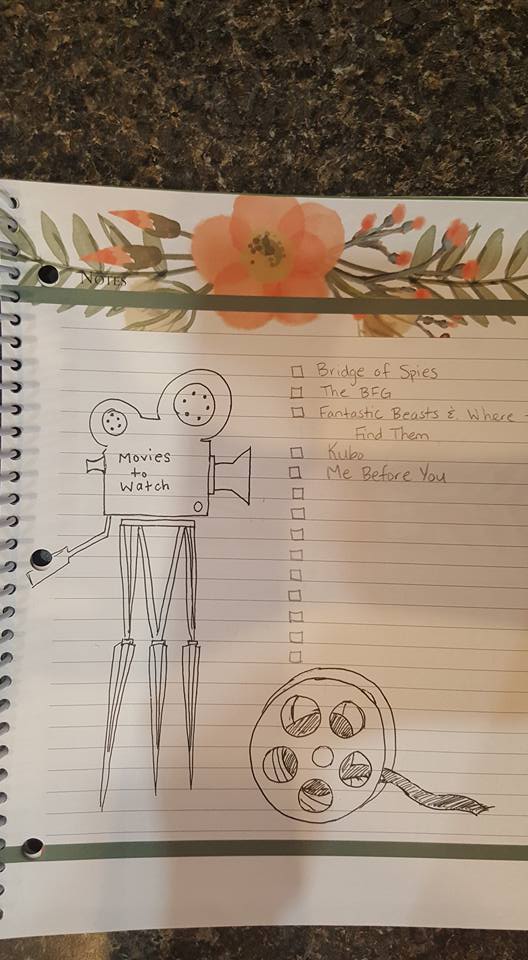
We just purchased a dvd projector, so I added this additional list of movies to watch outdoors because we own them or can rent them. The first list are ones that will play in theaters or have been on my watch list for a while and I don’t want to forget them. 🙂

11

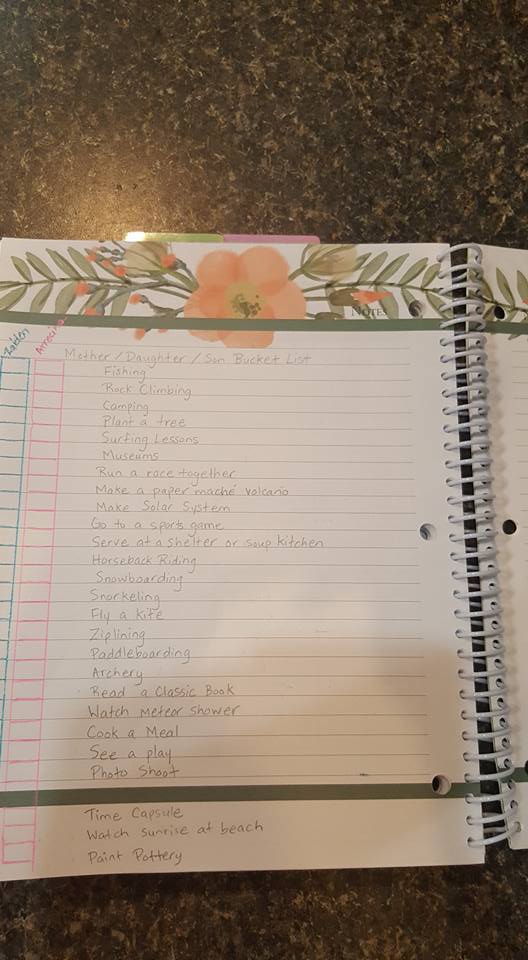
This next one is similar to our summer bucket list, but it’s not pertaining to a season, it’s more of what I want to do (or have done and need to start checking off) with my little ones that are more for the special occasions/memory making.

10

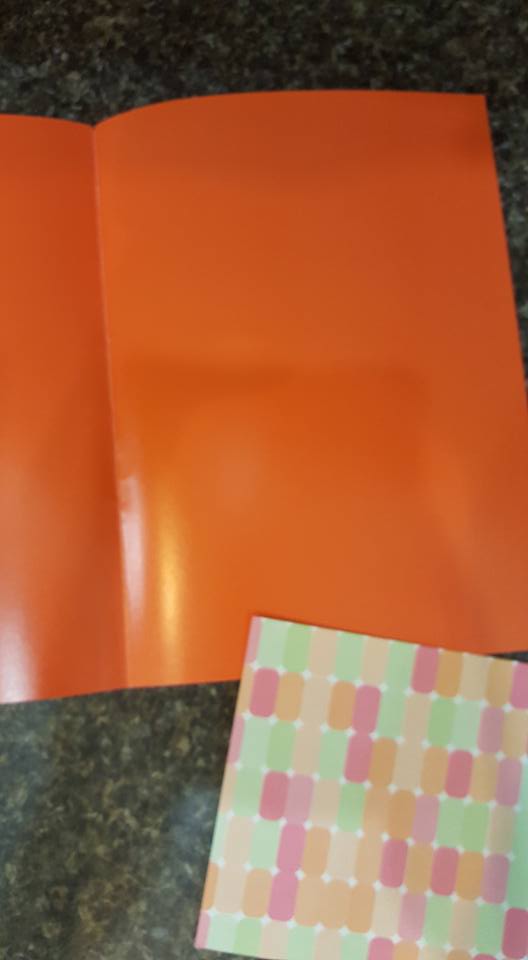
Now, in the very back of my planner, on the back page (cover?) I wanted to add a flip out kind of folder for our homeschooling group stuff (Classical Conversations). So I started with a file folder, cut it down to size, added some scrapbook paper and just glue the bottom and 2 sides to make pockets again.

31

34

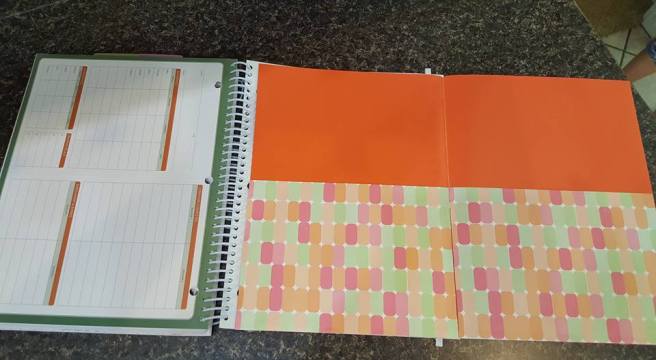
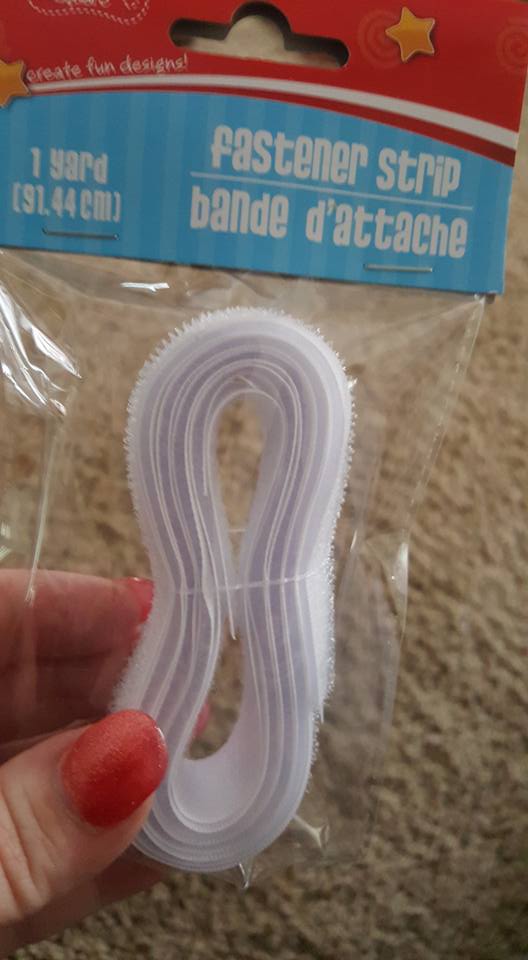
Using some elastic, I made the band that will hold everything in better so it’s not flying open or all around the place now that I’ve added to it.

32

It’s important to glue the elastic down first before gluing the flip out folder.

33

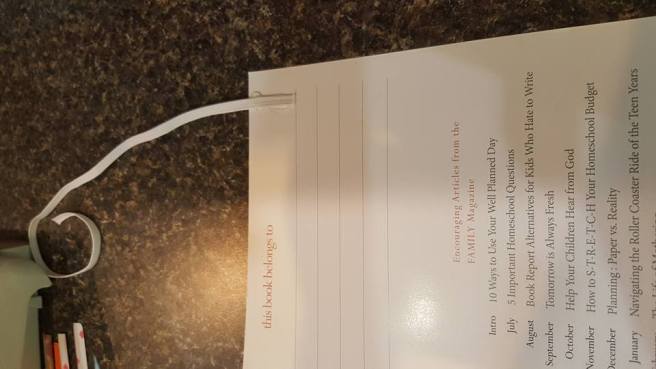
Once you glue one side of the elastic, close your planner to get an idea of how much room you need to leave to keep it closed without being too tight or too loose. Then, open it, glue the other side of elastic down. Slide the folder between it and glue it down.

After that, I printed out a Cycle 2 at-a-glance in 5×7 size to use glue sticks and adhere it to the lower part of the folder so it’s with me on the go to: libraries, museums, appointments, everywhere! The one inside the folder is the printed out suggested book list from teachingboys.net

Now that I’ve shown you how I’ve snazzed up my planner, I will show the fun pages it already comes with! This planner really has almost everything!

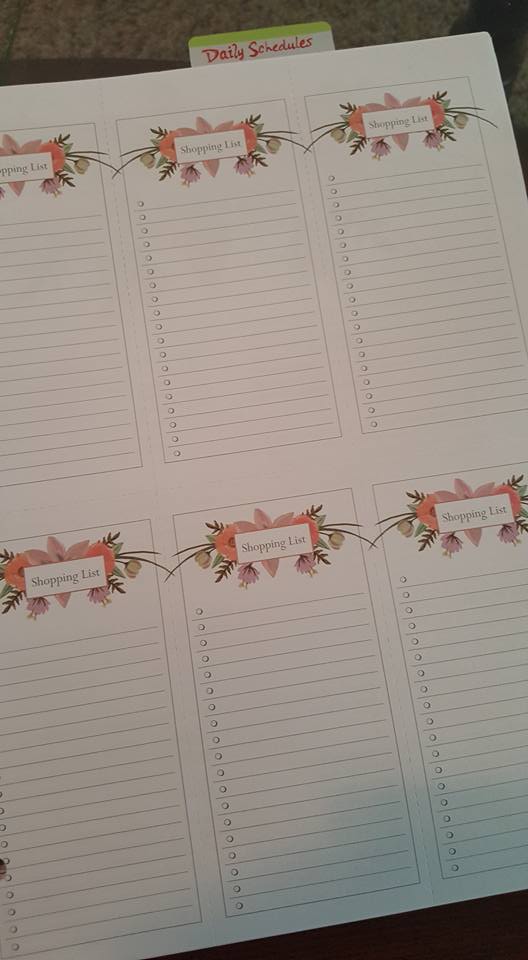
At the beginning of every monthly page, there are tear out shopping lists…

14

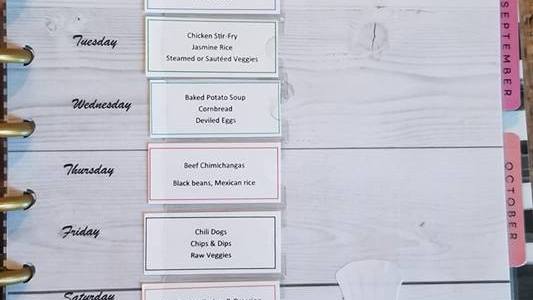
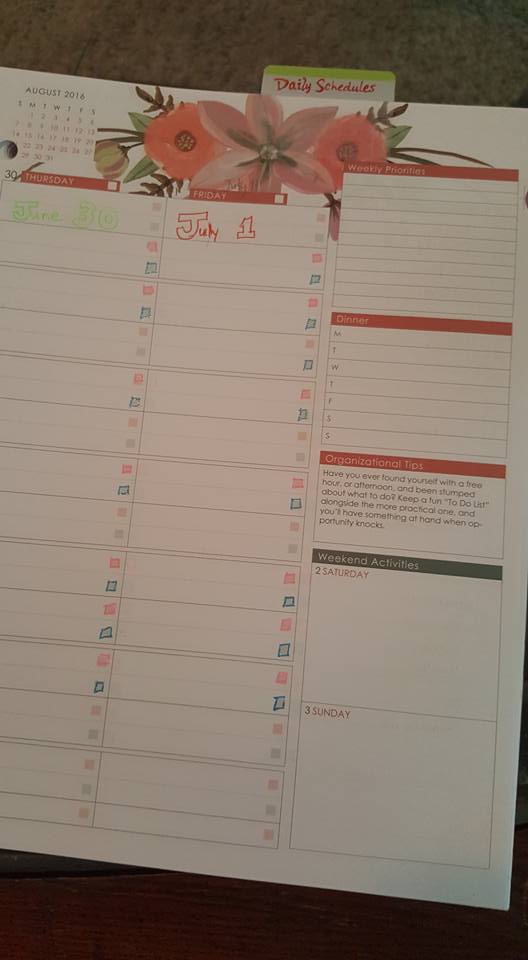
Weekly lesson plans (there are already color coded boxes – for up to 4 children – but I wanted to make mine stand out, so I traced them):

15

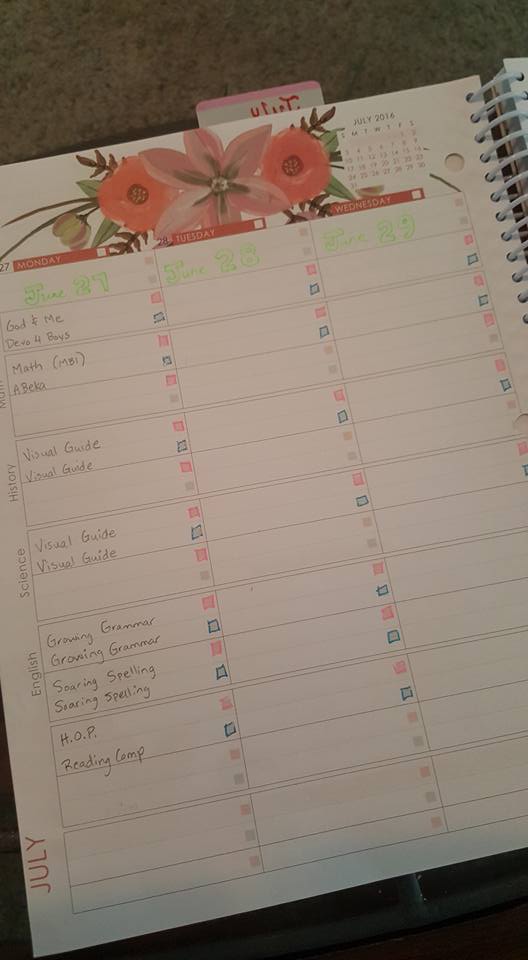
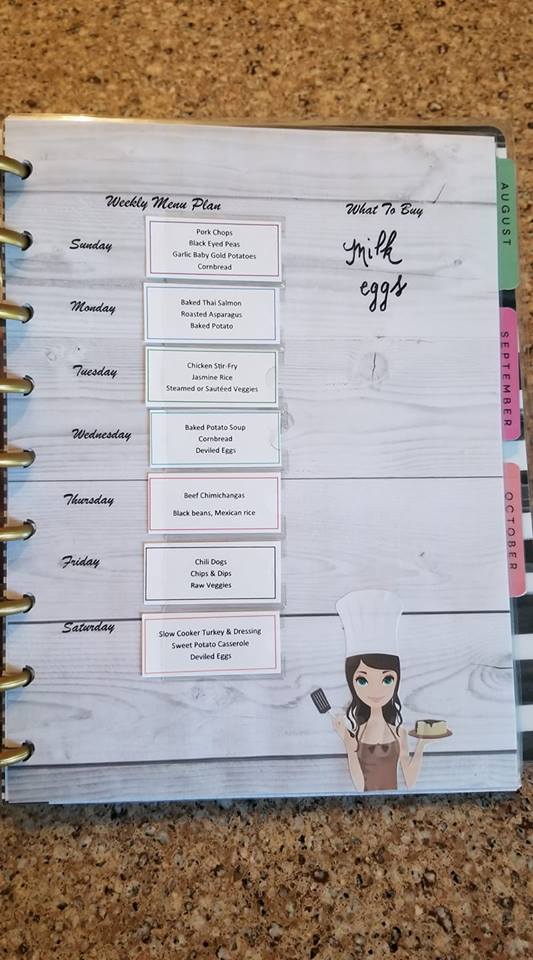
On the right of the weekly, the planner has tips! It also has room for notes, priorities, the weekend, and dinner meal plans!

16

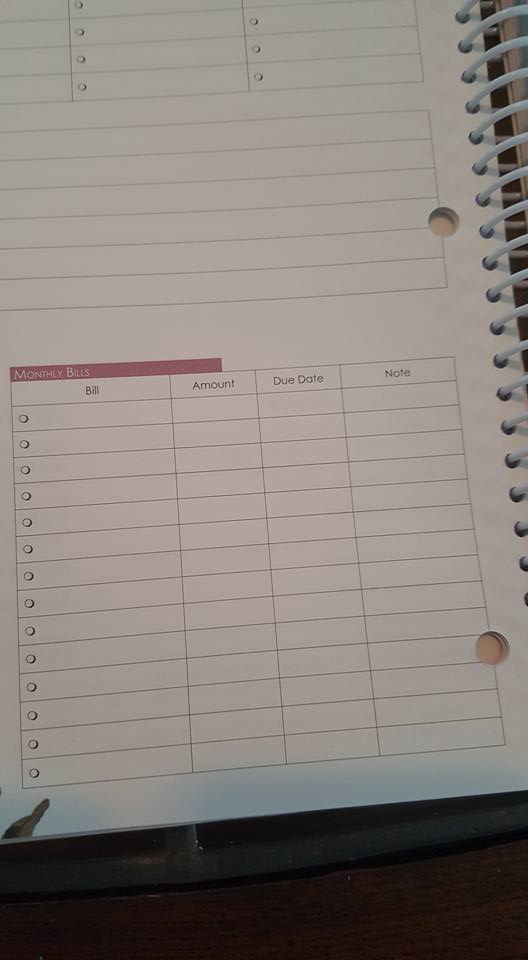
A place for your bills (monthly):

18

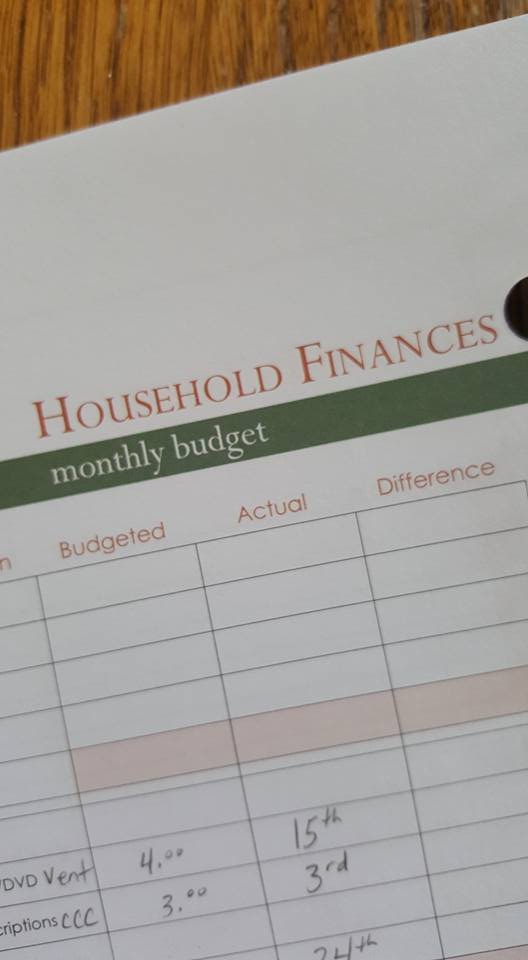
And room for the budget:

20

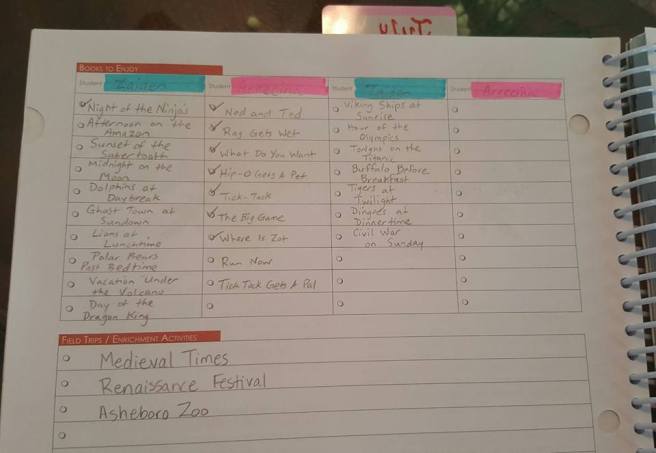
A place for (monthly) book lists and field trips. I color coded the lists for my little ones.

19

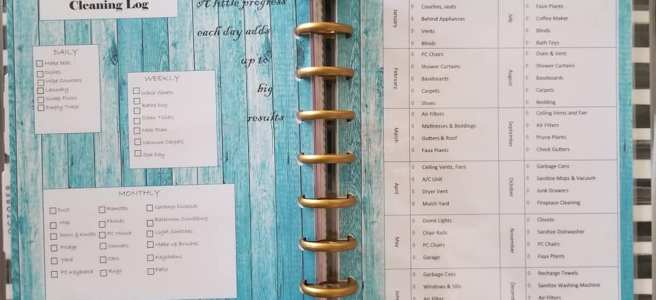
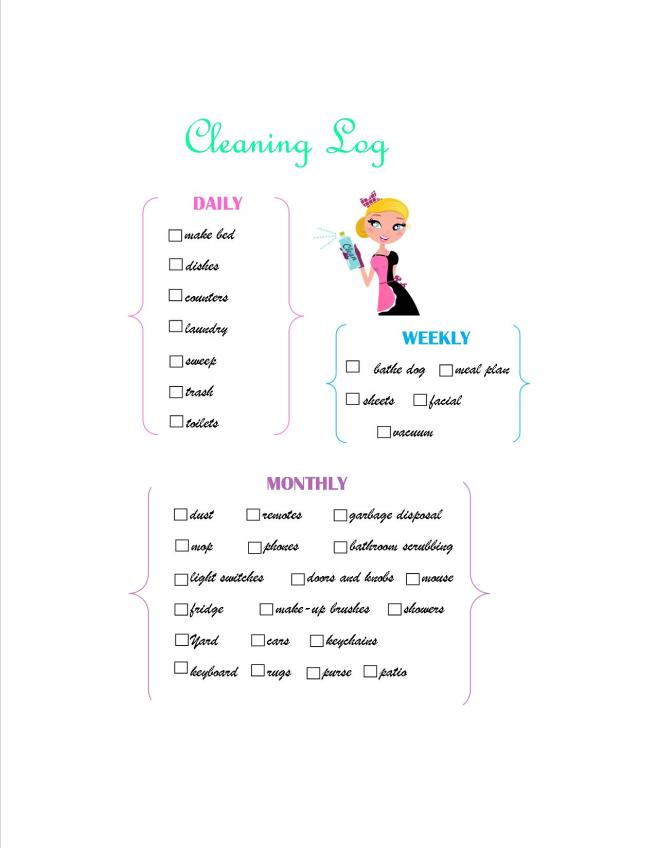
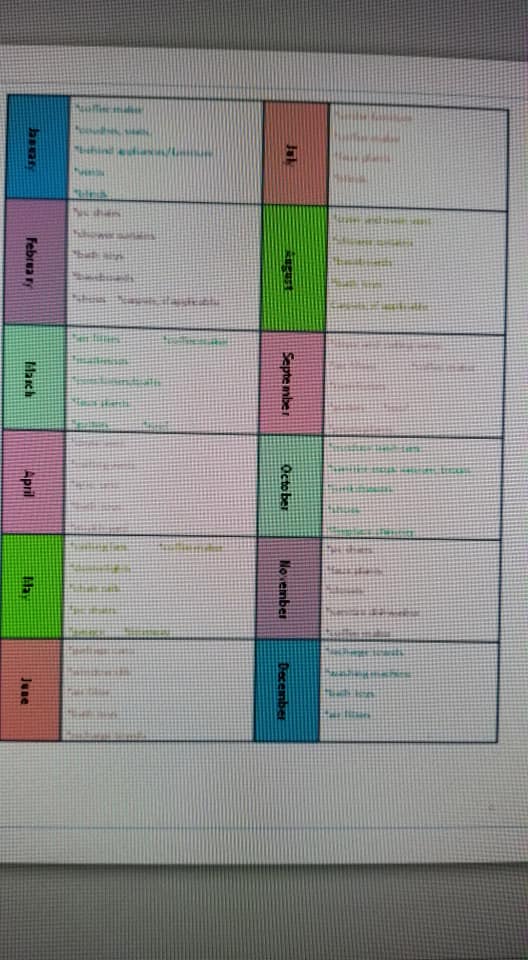
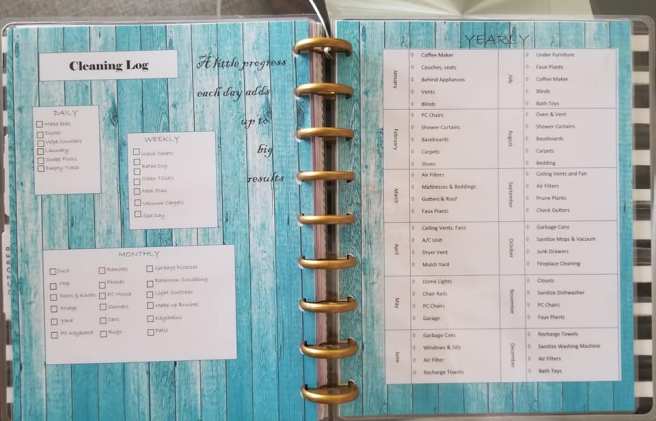
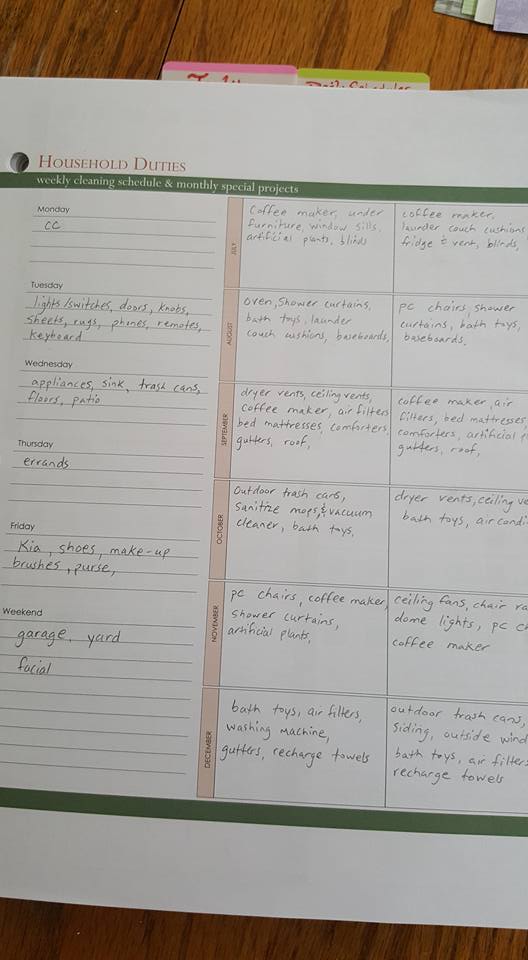
A place for you to list your at-home “chores” for daily and yearly! I understand some of you may not be as excited about this part, but it makes me happy!!! Lol

21

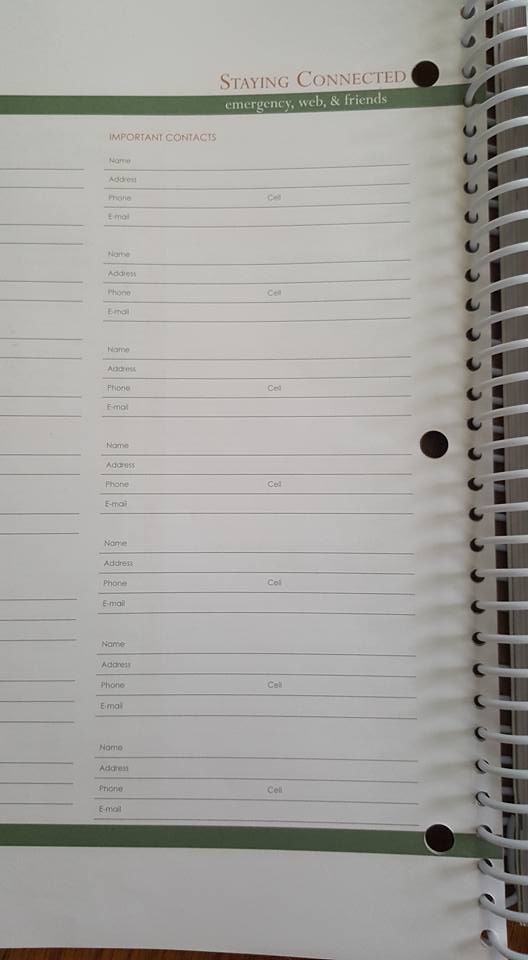
The usual contact page:

22

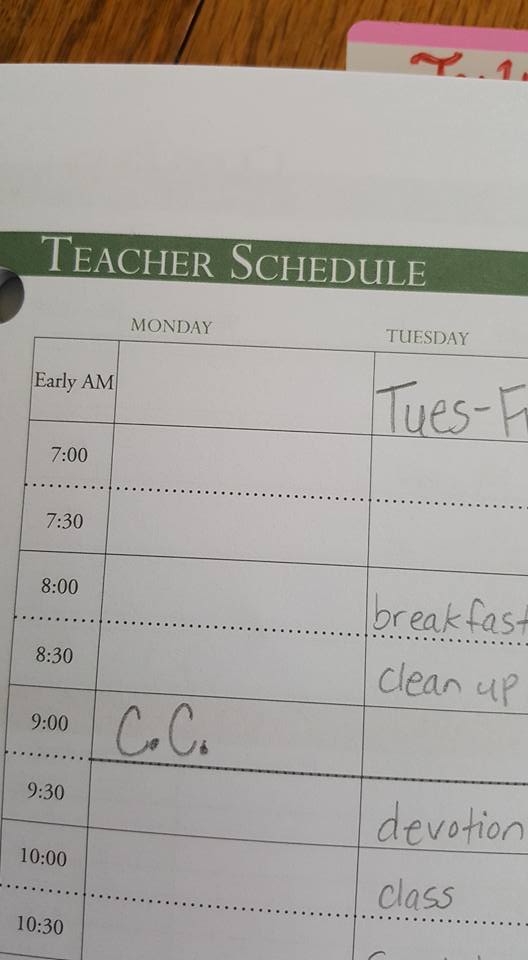
A page with a teacher schedule:

23

Multiple student schedule (I think there are 4):

28

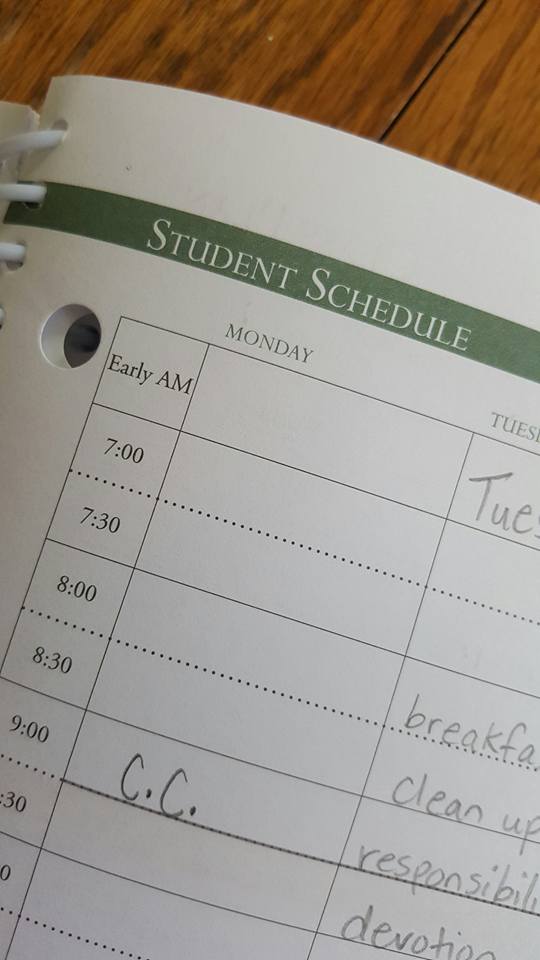
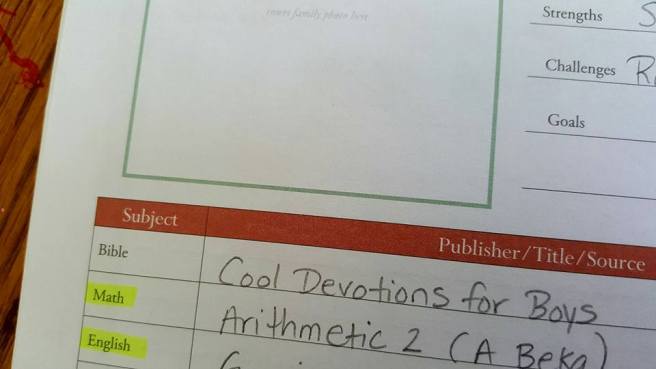
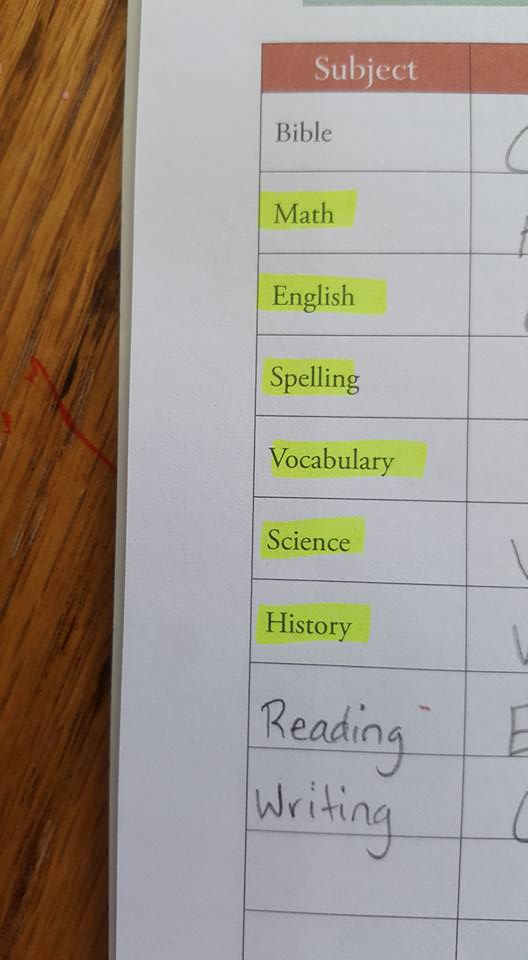
And the page beside the student schedule is for their details, like their curriculum.

27

24

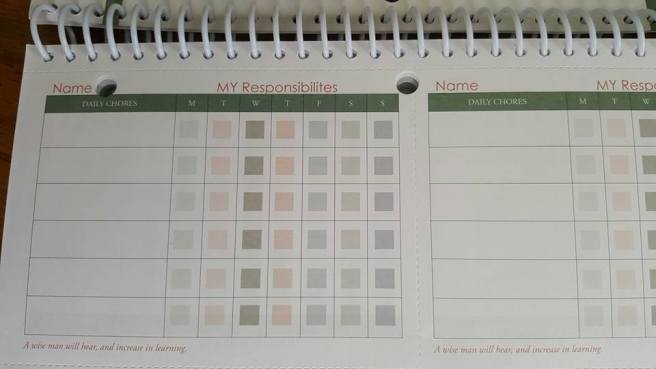
Tear out chore charts for the children:

I would suggest laminating them if you tear them out and maybe place them on the fridge and use a dry erase marker.

25

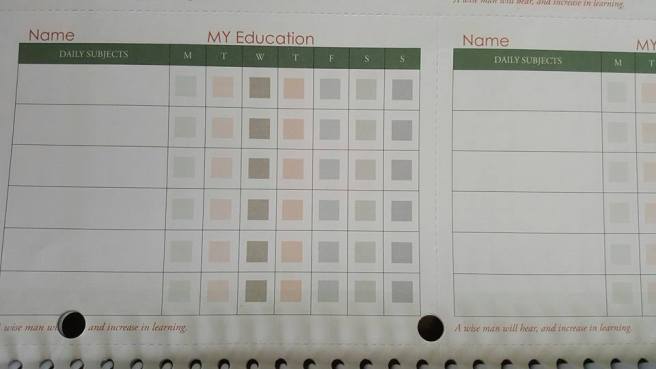
Tear out daily homework checklist. I would also laminate this and use a dry erase. Glue a magnet to the back and put it on the fridge…

26

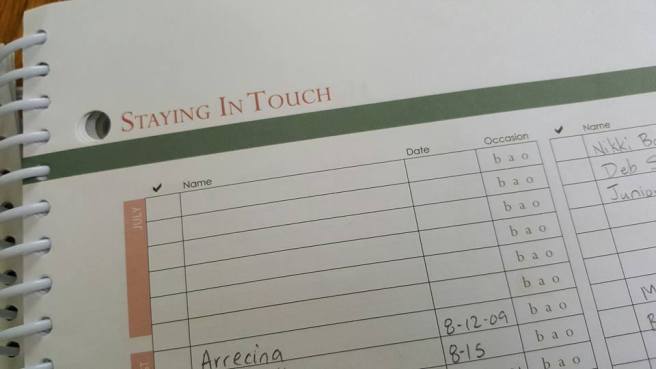
This page is for tracking birthdays, anniversaries, and “other” occasions to remember.

29

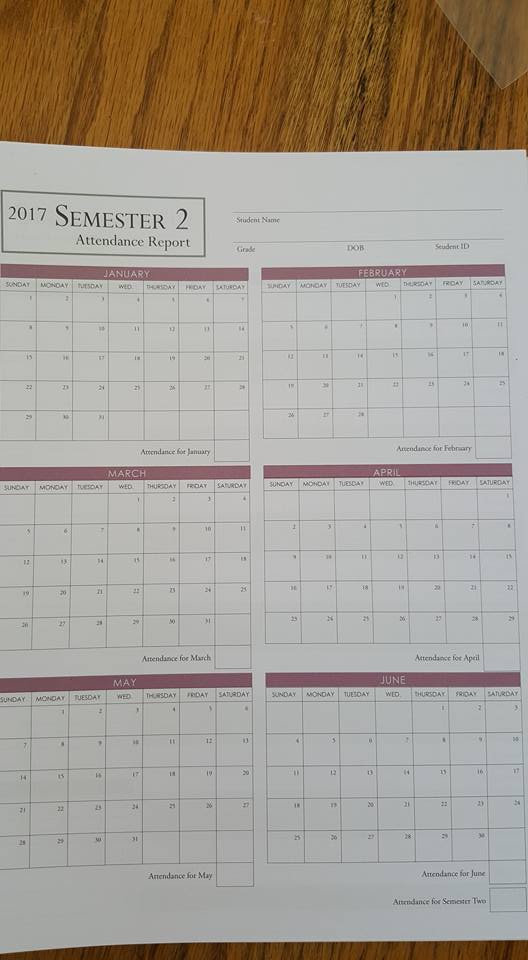
In the back of the planner, there is a progress report section (not pictured), the attendance reports, and a report card to tear out.

30

Hope you like the planner as much as I do! If you like this particular one it’s from the Well Planned Gal page. She has day planners, teacher planners, and student planners. This is the day planner. I thought it would come closest to having a little bit of everything for our needs. I hope you like and incorporate the ideas to dress your own planner or journal up a bit. I can’t wait to update you next year with new tips and tricks for keeping organized!

Btw, I also added the tabs that are at the top of my planner. I got them from Michaels and Dollar Tree. I used a paint pen (not marker) to write on the tabs.


DIY Routine Fridge Strips

I saw a nice printable for a summer routine for screen time for little ones. I thought about printing one out, but I needed one more personalized for what would work for us. This isn’t the one I saw, but I like it and thought I would share it with you if you want to print it.

Chores-and-Ways-to-Help-Out-and-Earn-Screen-Time-Printable-791x1024

What I needed is more of a routine I can clearly see to stay on track!! I just lose track of what we’re supposed to be doing throughout the day when I get sucked into chores and catching up on odds and ends. Then, the little ones end up playing all day before I know it. These magnets can be put on your fridge, which was my original intention. BIG and in plain sight where I will have to pass by it multiple times and can’t miss what I want to be doing. Like, our devotional every morning. Before I know 2-3 days have gone by and instead of starting on that before school or before fun sometimes (whoops), the time has passed us by. Also, lunch. I know you would think surely a SAHM would remember to stop at lunch and feed the little ones, lol. Well, again, I get sucked into doing other things that aren’t as important to me as this ideal day in my head that I’ve had for at least a year and I forget to eat, let alone, start lunch at such and such time or after such and such activity. Usually, one of the children let me know, lol. Around here, we just eat when we’re hungry, not by the clock. But, I do want that to be different. I am hoping this IN YOUR FACE magnet schedule will help us do that! Also, I read on another blog about morning baskets and I would love to do that. I gathered everything I thought I would need. And put it in a drawer with our school books. It hasn’t moved. I thought, oh, I don’t need an actual basket out on the table to do this (I like clean lines and no clutter: ie. things put in cabinets and drawers). I guess because I don’t see it out, it doesn’t get done. In addition…I want to move on from children’s books to a chapter book for our family at night, so I would like it to be more regular than our “sometimes” nightly book readings.

13227214_10157466509840131_875920068403432667_n

Long story short: here is the printable that you can put on your fridge (or if you like this magnetic wall plaque and you don’t have a green thumb and your herbs all died from trying to make a wall herb garden, you can get this at Michaels and paint the trim any color).

Routine Strips

Just print them out, laminate them, and attach a magnet to the back. 🙂 And if you’re looking for ideas for your little ones to earn their screen time (or for chores or discipline), you can check my previous post with the chore jar. 🙂

DIY Faux Oil Pictures

I am in love with this new collage that took me almost 2 years to finish (long story). Yes, I am aware of NOW that you are not supposed to take photos on RR tracks, but this was years ago before it was publicly being made aware for us beginner photo takers! I hope you are at least inspired to get out your favorite photos and try this yourself. 🙂

Don’t mind the canvas (I am already working on repainting that!). This photo was taken before I had added the gel to the collage to give it an oil painted look.

11960146_10156484026625131_4615391276893937661_n

What I wanted to do was create a collage of my children together, one in each season, but in the same location. 🙂 I chose to take a photo of them walking together, holding hands. I started with the season we were in, but I hang them in the order of Spring, Summer, Fall, and Winter.

Choose the photo you want to use. I had ours printed to be as large as I thought I could and still look good because I didn’t shoot them in raw form. They would have been grainy if I enlarged them too much, so I chose 8×10 (I used service from Shutterfly every time they offered 1 free 8×10 until I had them all done) and trimmed them down when I had the canvas’. I used some cardboard canvas’ that I got on clearance from Dollar Tree (so this was a pretty inexpensive project for me).

I used a strong all adhesive glue and laid the photo on top of the canvas and placed a heavy book on top overnight to set it. Then, I folded the edges over to create the crease, then glued that down. After the glue has set, I used a texture gel to “paint” across the top of the photos.

11062781_10157385104635131_3258863308109000750_n

I got mine from Michaels and if you use a coupon, it’s about $9. I used a mini roller to “paint” the gel on.

13094285_10157385104750131_3125641485748387424_n

Here is what it will look like after you paint the gel on. It will dry clear!

13094225_10157385104935131_7635391951301160458_n

11063619_10157389012630131_7287531462551235332_n

13125031_10157389012420131_378869146006425262_n

I don’t know how well you can see the texture, but I think for less than $15 and my first time, they turned out pretty good!! I can’t wait to hang them on the walls of our new home (already filled all our nail holes in for a move 🙂 ).


Tub & Toys Organization

I am just sharing what I recently discovered as an inexpensive way to store your children’s tub toys! I wish I had known this years ago, lol. I bought some plastic bins from Dollar Tree that I can just scoop up the toys in the tub water and hang on some suction cup hooks & they dry out, too!  I love organization that it cheap and easy!

Here is what it looks like from above so you can see the suction cups…

13076733_10157385198660131_4626463780923214688_n

Here is how it is in the tub…

13133193_10157385198610131_67576094244997859_n

I used to store their tub toys in a bin and put them in the bathroom linen closet every time and dump out the water that collected and sanitize the toys constantly because they wouldn’t dry as well. This is so much easier, plus I don’t have to pick them all up individually, I just scoop and hang! And I don’t have to get them out of the closet every time because now they can just reach them on their own when they take a bath. Love it!

Hope it helps you, too! 😉