
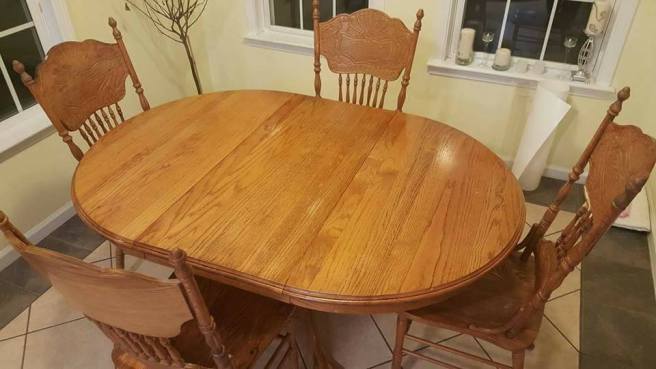
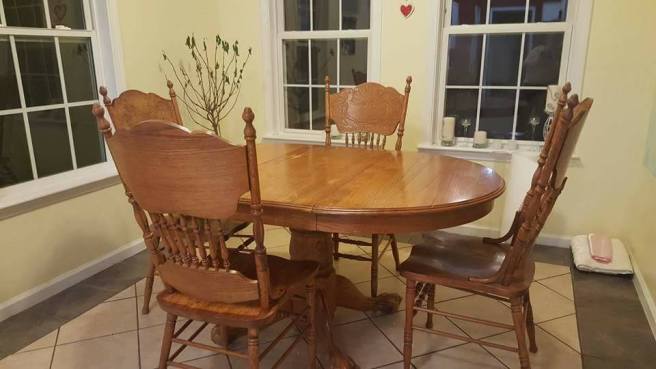
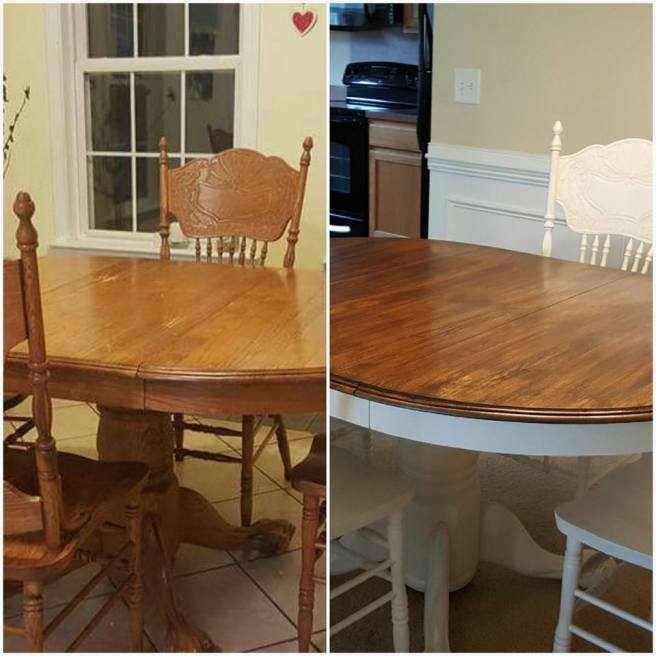
I am so excited to be done with this table! And I love it! I wasn’t so sure how it would turn out when I started this project. I haven’t taken on a furniture makeover this “big” before. Quite a vital, expensive kind of thing to redo, but it really wasn’t my style when it was given to us. When I got the green light for keeping it and doing what I wanted to it, I decided to go with a white base and chairs with a deeper wood top. And I wanted to see reflections in it! 😀
I primed it first and put on a couple of coats of white paint. Then I stained the top portion with a gel stain. Let me tell you the biggest tip I learned from this furniture venture: let each coat dry completely. And by completely, I mean about 24 hours. Especially once you move on to the sealing.
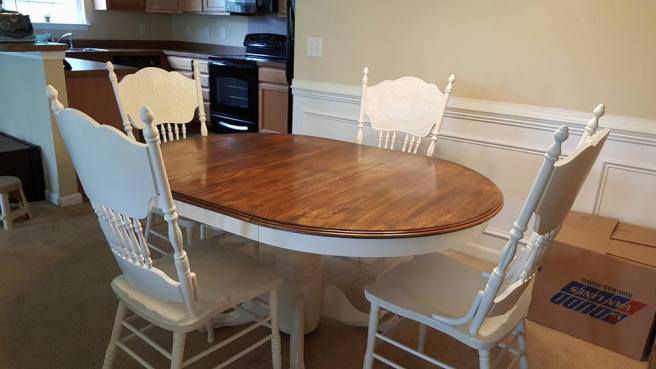
After I painted the white, I sealed it with polycrylic. I decided to make the top really thick and reflective, so I used epoxy. Boy, do I have the story about that! Hah. Make sure to cover every crack if you have a table with a leaf. Do not let epoxy settle into the sliding wood. I put 2 coats of epoxy on it and let it harden for 2 weeks before using it or putting anything on it. It takes that long to cure so you won’t see the fingerprints or get dents.
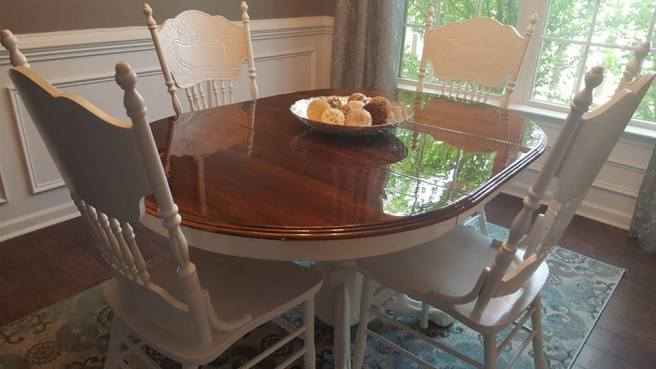
Voila! All done. 🙂 Hoping after the work I put into it, that it will last for many more years.

