
I am sharing with you today a trifold board craft I made for our orchestral and composer semester for our homeschool group.
Items I used:
- trifold board
- cardstock
- magnets
- glue gun
- printouts
- popsicle sticks
- glue sticks
- double sided tape
- paper cutter (optional)
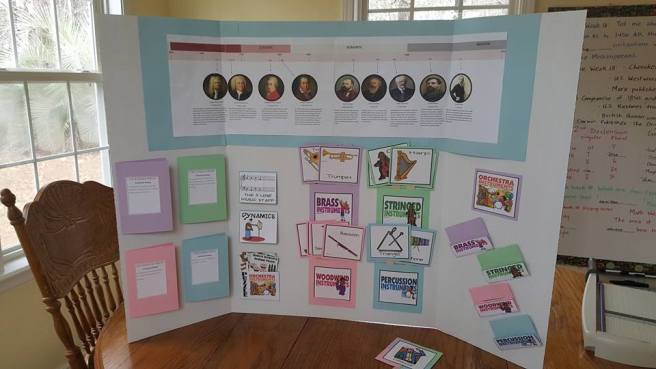
The timeline of a few notable composers through the Baroque to the Modern Period is one that I created and will share the pdf with you for you to print. I printed that out, taped them as closely together as I could, and laid it on top of cardstock. When I had it positioned where I wanted, I used the glue gun to adhere the cardstock and used double sided tape to adhere the papers to that.
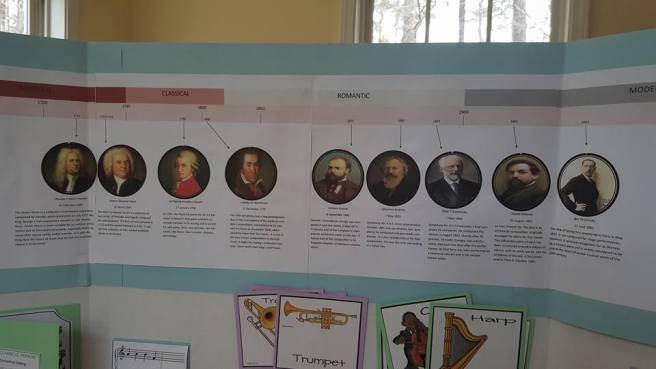
Here is my link if you would like to print the timeline:
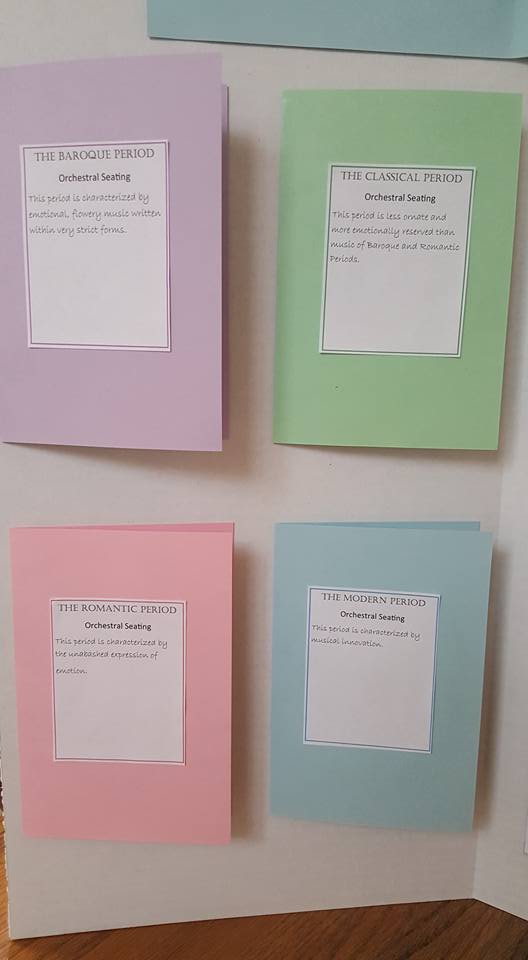
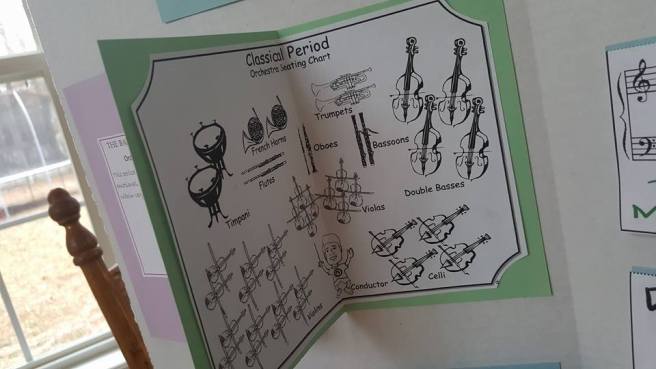
Starting from the bottom left: I printed the orchestral seating chart and cut and glued that onto the cardstock and affixed the time period description to the front. Here is my pdf for the front description:
The site where you can find the seating chart is :
http://www.dsokids.com/visit-the-symphony/orchestra-seating-chart.aspx
There are 4 short clips that load and after each one, you can print the page.
The remaining printables can be found here:
http://www.123homeschool4me.com/2012/05/kids-learn-music-free-lapbook.html
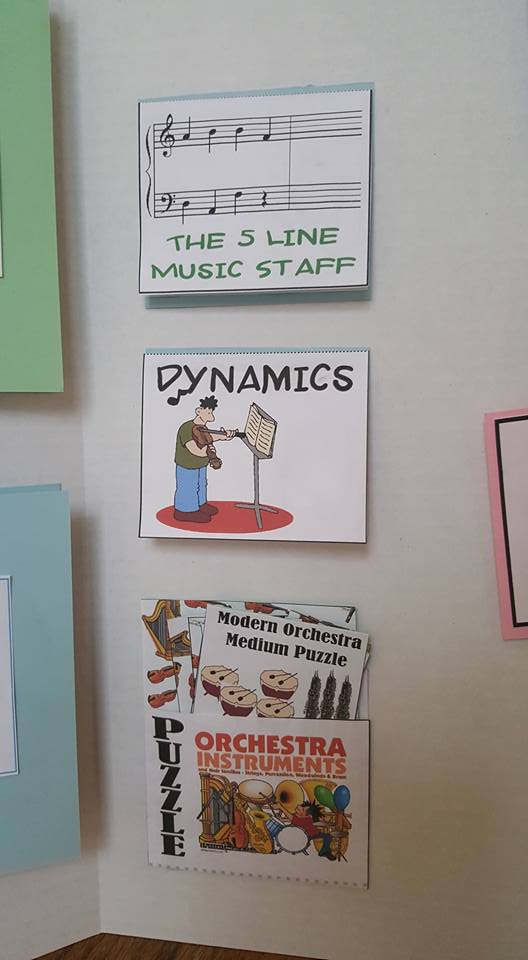
Just print out the pages you want to put on your music board and follow the instructions. I decided on the medium puzzle and glued it onto cardstock before cutting it up. I am out of laminating sheets, but they should be here from Amazon any day now and I will laminate them!
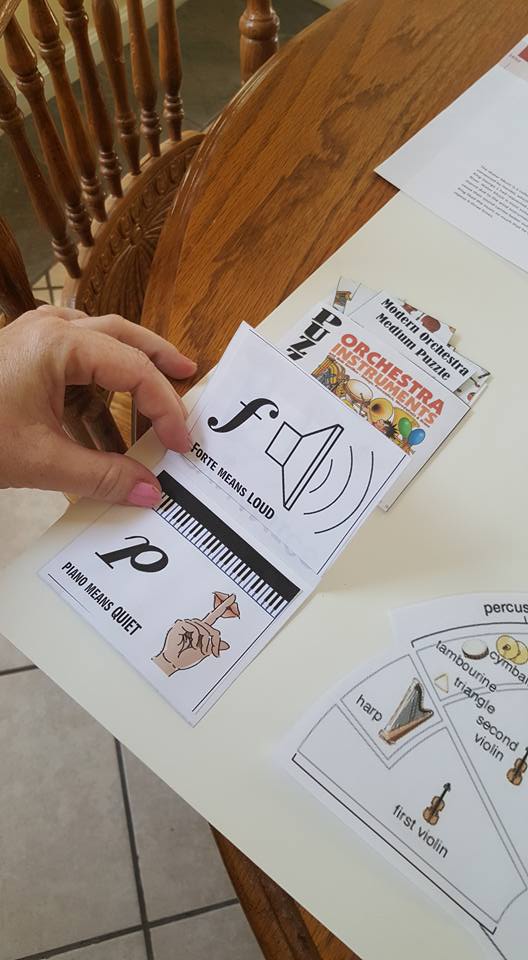
Here is how the “dynamics” looks when you cut and glue it together.
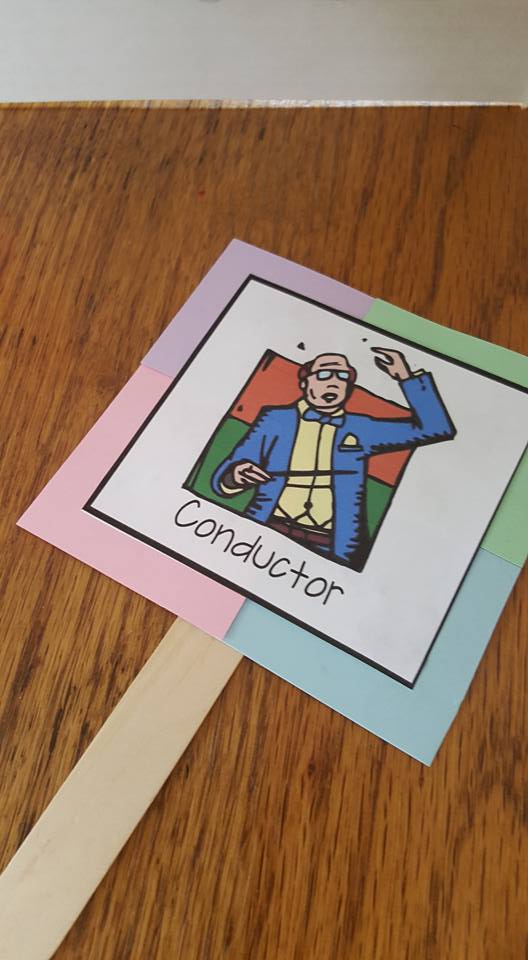
For the middle printables, I decided to make them into puppets. I’m not sure if that’s what it was for, but that’s what I wanted to do. I printed them, glued them to the cardstock, and hot glued the popsicle stick on the back. Very, very carefully, glue a slim strip of hot glue onto the cardstock on the sides and bottom to act as a pocket for the puppets.

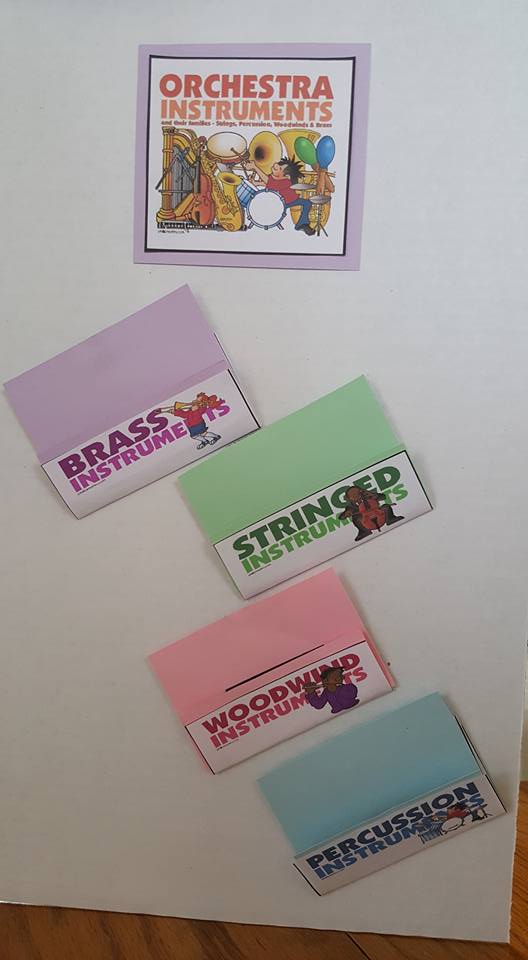
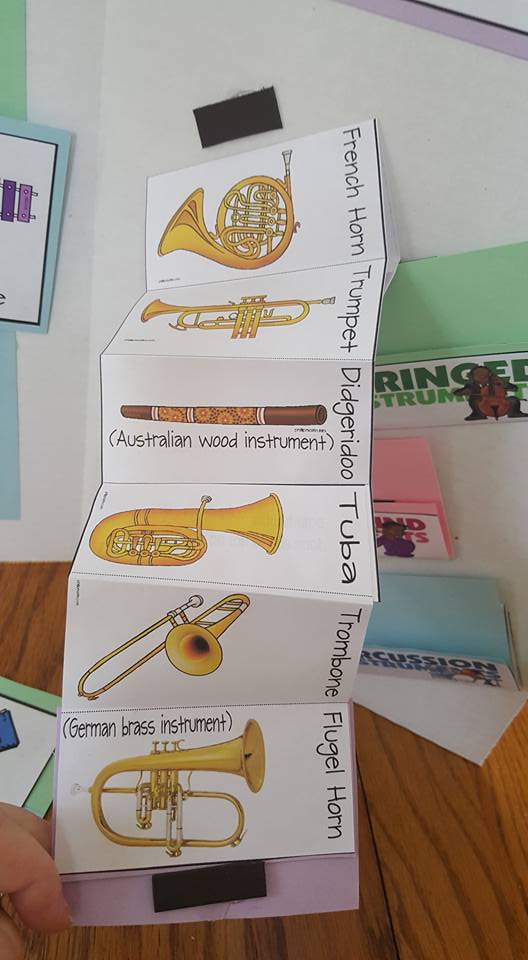
The bottom right of the board is the categories of instruments, accordion style. I wanted to keep them from flopping open, so I decided to use some small magnets I had at home.
I followed the directions on how to make them like an accordion, which I’ll admit took me two tries on the first category. hahaha. Then, I added the small strips of magnets to hold the flap in place and noticed that wasn’t keeping it completely closed, so I added one at the top of the “booklet.” I had to make the cardstock slightly longer on top to leave room for a magnet. Hope that description helps! I should have taken pics along the way, but once you get going with a glue gun and magnets, it’s a mad rush from the kitchen counter to the dining room table with glue strings everywhere, lol.
There you have it! That was it and those were the links. I didn’t know I would enjoy crafting for my homeschooling material as much as I do for cute stuff around the house, but I do!


Looks so cool
LikeLike
Thank you! We all loved it! It will come in handy for a long time!
LikeLike
Very soon this wweb page will be famous amid all blogging viewers,
ddue to it’snice articles or reviews
LikeLike
Thank you so much for your kind words! 🙂
LikeLike